This site uses affiliate links and I may earn a commission at no extra cost to you.
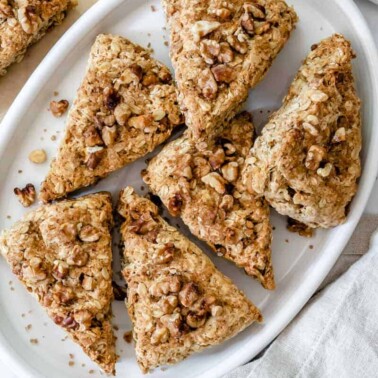
This bakery-style vanilla scones recipe makes fluffy and tender tea treats with crisp, golden edges. They come together quickly, taste absolutely amazing, and are dairy-free, eggless. Enjoy as is, or top with yummy toppings!

Want to save this recipe?
Why You’ll Love This Homestyle Vanilla Scones Recipe!

There’s nothing like freshly baked scones just pulled from the oven. These homemade vanilla scones have a slight crunch on the outside and a crumbly, melt-in-your-mouth texture inside. Paired with your favorite hot tea or coffee, it’s utter bliss! Plus, making them yourself is so much more affordable than buying them at the coffee shop or bakery!
And don’t worry, this scone recipe is super simple and only yes basic baking staples. Even novice bakers will find them breeze to make! So next time you are craving one, skip out on buying those pricey scones and make a big batch from scratch to save yourself some bucks!
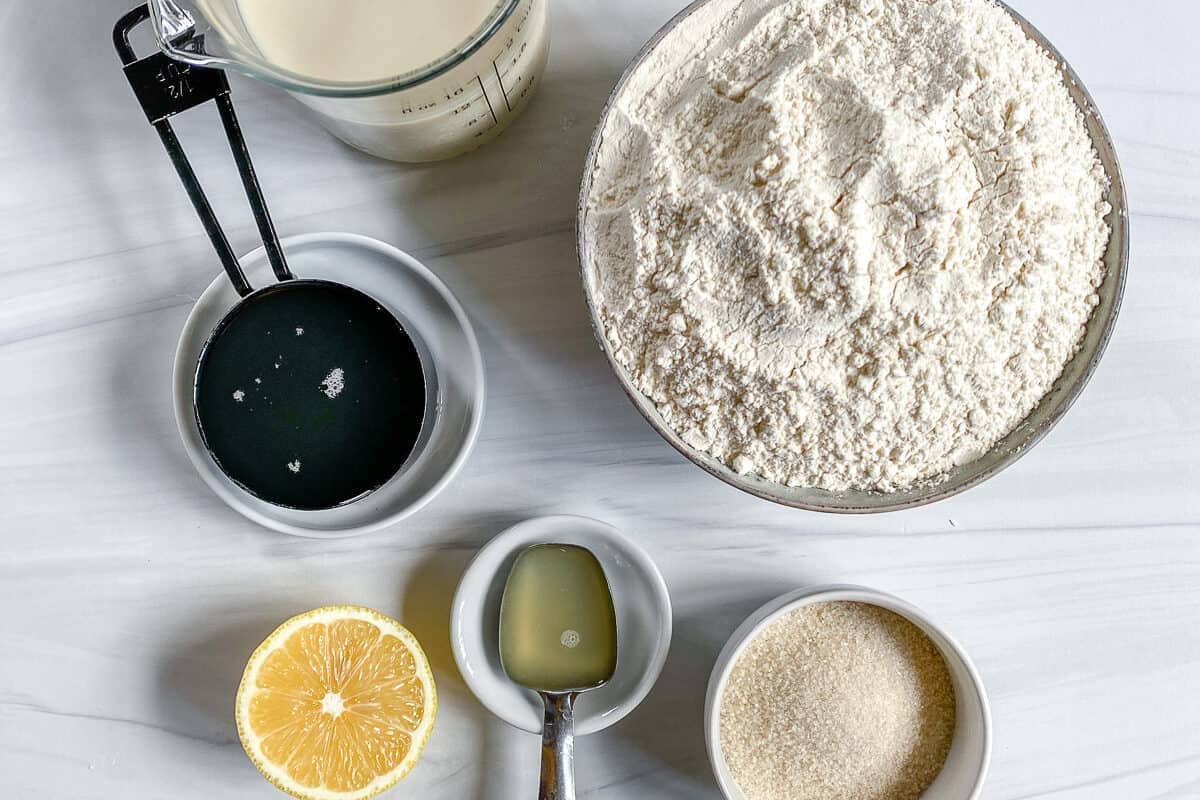
Vanilla Scones Ingredients
- All-purpose flour: – this flexible, all-around flour is perfect for making soft-baked crumbs. Note that some extra flour is needed to cover your work surface when you form the dough.
- Vanilla plant-based milk: Almond, soy, or oat milk are the best types for baking, but you can use other non-dairy milk too. If you can’t find them in vanilla flavor, just buy plain plant-based milk and add a teaspoon of vanilla instead.
- Granulated sugar: Sweetens and adds more moisture to the pastry. If you don’t have any granulated sugar, brown sugar will work. It will add a richer taste due to the molasses content.
- Coconut oil: Using oil will keep the scones moist for days! You can use vegan butter as a substitute.
- Coconut shreds: (optional) Adds texture and makes the scones more crumbly.
- Lemon juice: Mixed with plant-based milk to make homemade vegan buttermilk.
- Baking powder and Baking soda: These aid in the rise and fluffy texture of our scones.
- Vanilla extract: The primary source of flavoring for this scones recipe. It gives a delicate aroma and taste to the dough.
- Salt: Just a pinch enhances the vanilla flavor without making it salty.
How to Make Vegan Scones from Scratch

Step 1: First, preheat oven to 375 degrees F. Then line two large baking sheets with parchment paper or use a silicone mat. Next, in a bowl, add your plant-based milk and lemon juice and mix together. This will act as your vegan buttermilk. Set aside.
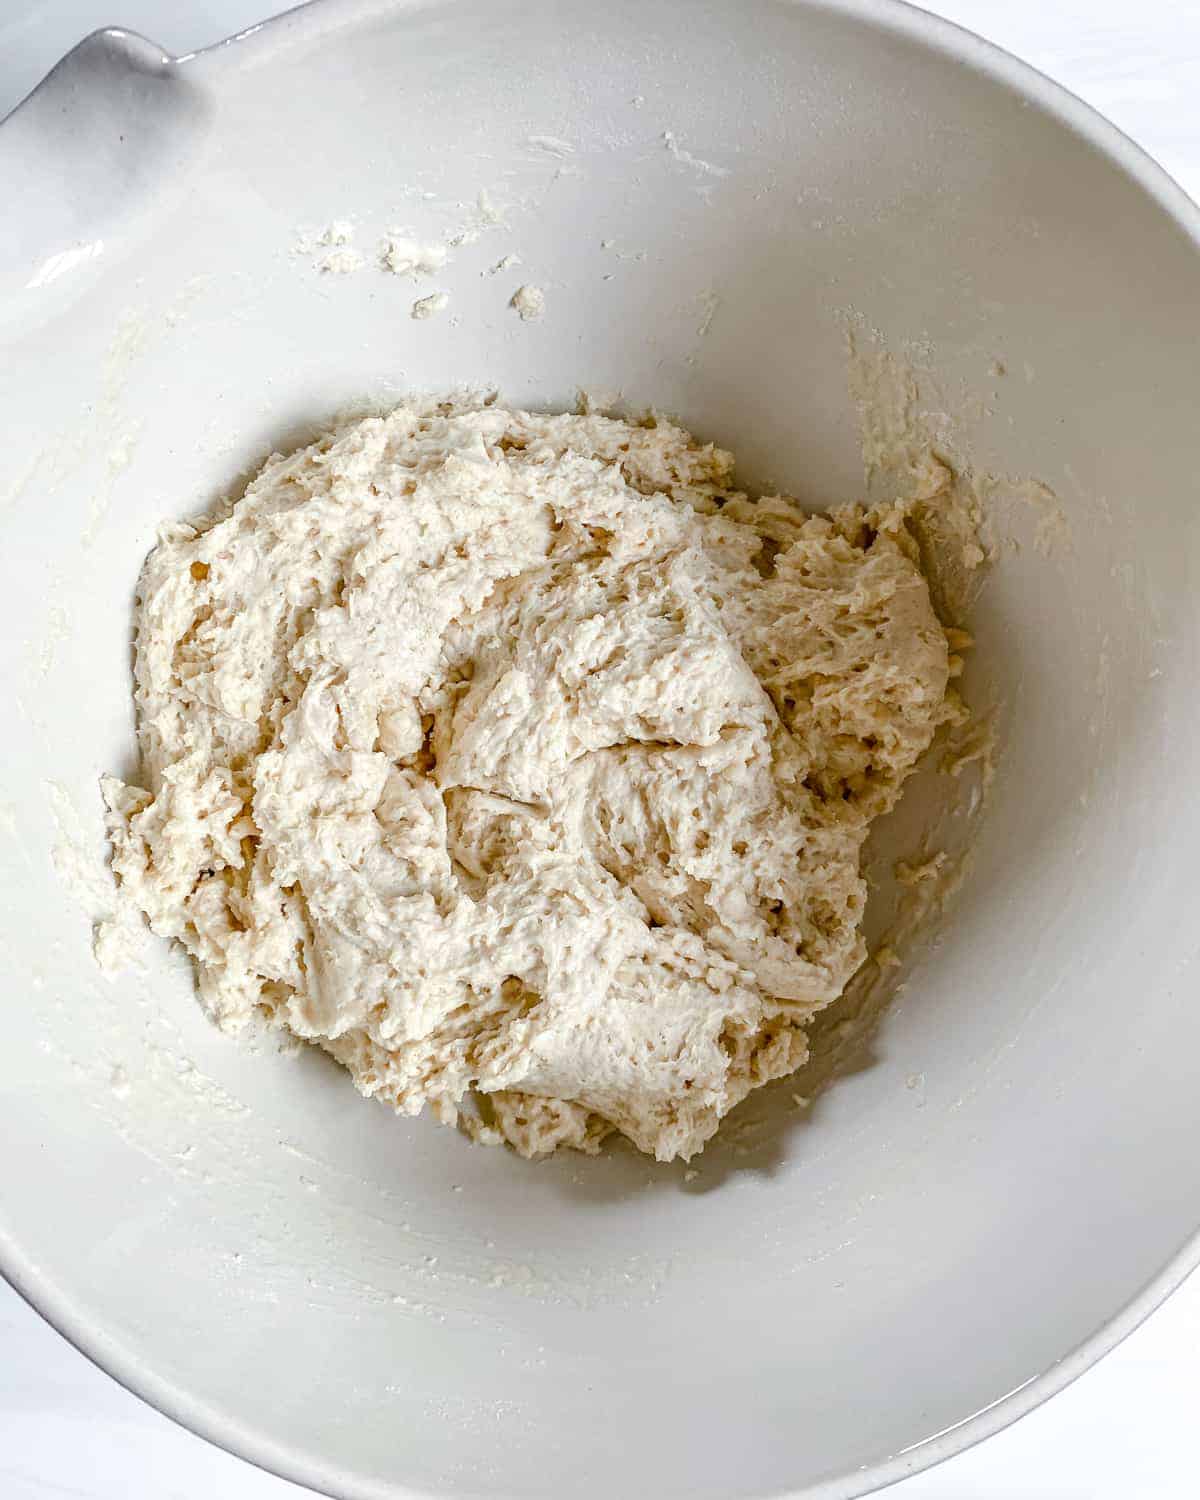
Step 2: After that, whisk together all of the dry ingredients: all-purpose flour, baking powder, baking soda, and salt until uniformly distributed. Then, add the oil and vegan buttermilk mixture with the dry ingredients and whisk well. Gently fold the ingredients with your hands.

Step 3: Next, shape your dough. Work on the dough by dividing it in half on a lightly floured countertop. Place the dough on the counter, plop and shape it into a circle.
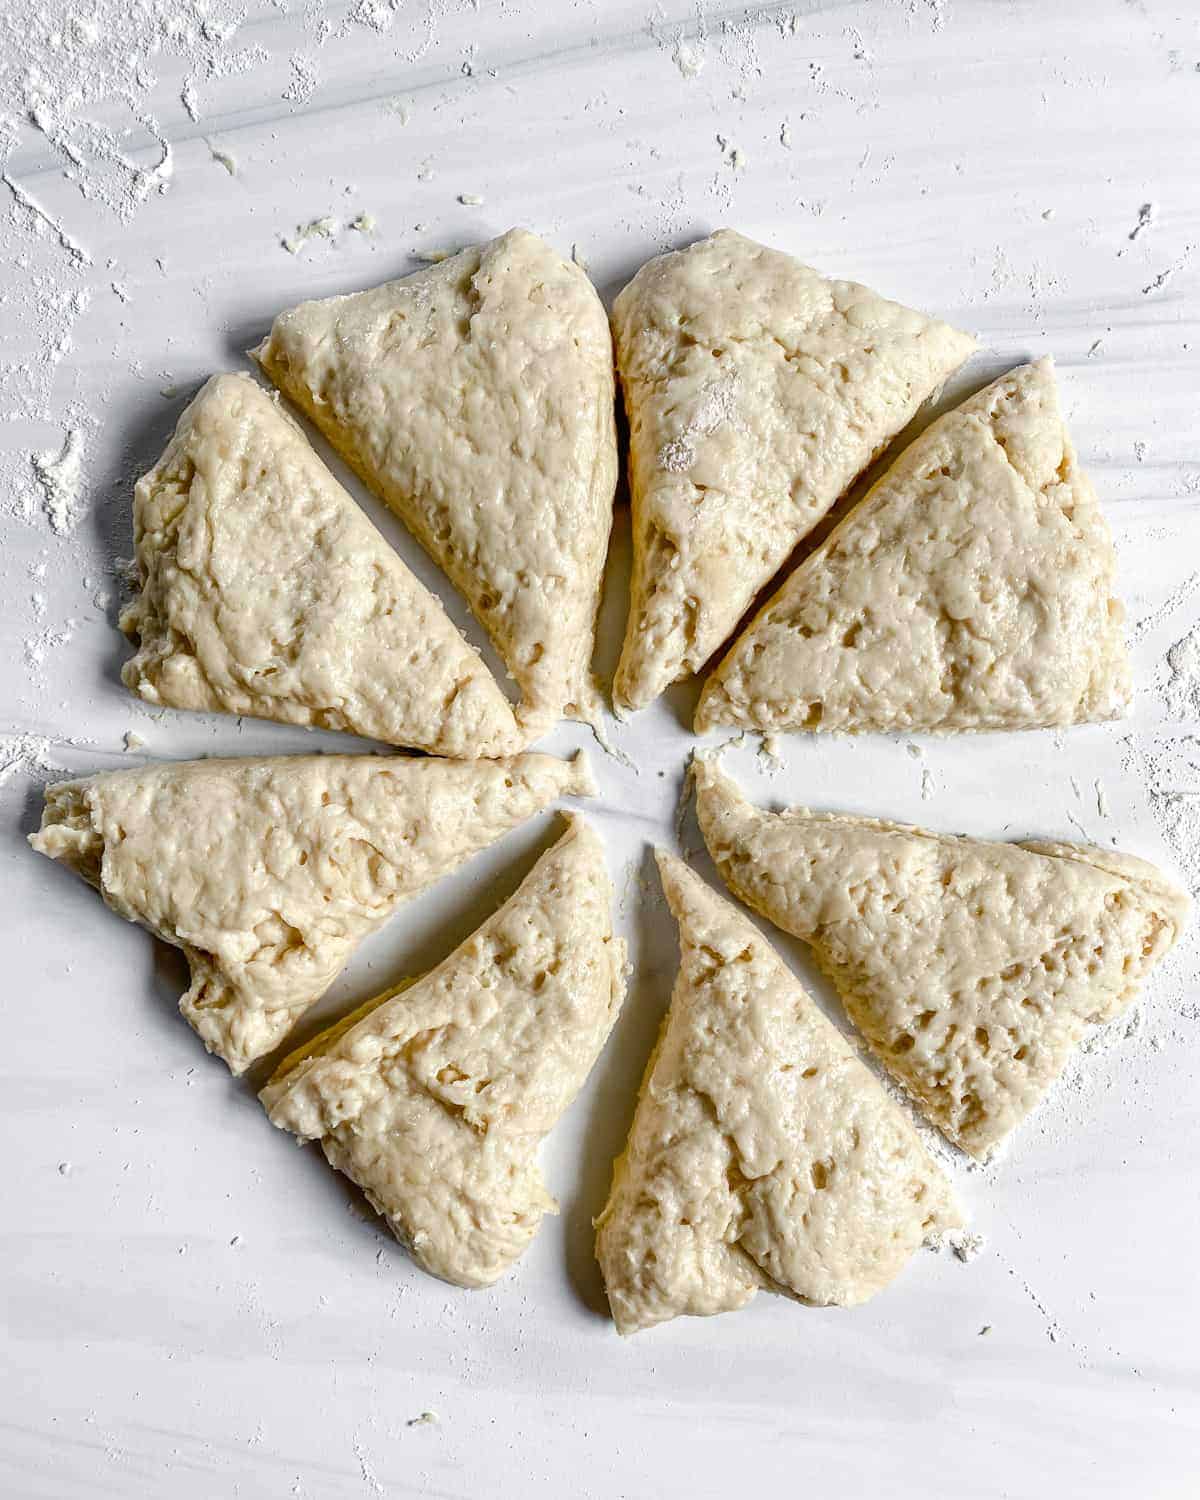
Step 4: Then, prep dough for baking by cutting the large circle of dough into 8 triangles that are all the same size. Line your baking sheet with parchment paper, spacing them about 2 inches apart. Then repeat with the remaining dough half.

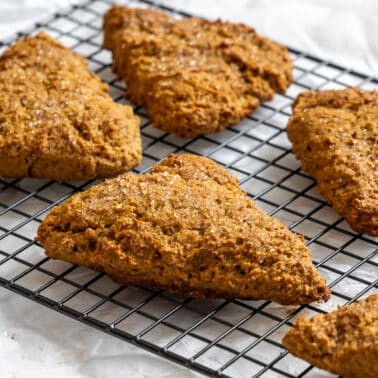
Step 5: Finally, bake in the preheated oven, bake for 16-20 minutes, or until golden brown. Midway through, switch the baking sheets from top to bottom rack. If desired, serve by topping with coconut flakes and lime zest. I like pairing the vanilla scones with a cup of coffee or tea.
Toni’s Recipe Tips
- Measure your flour. Use a spoon to scoop it into the measuring cup and then level it off with the back of a knife. Having too much flour can result in a dry and crumbly dough.
- Don’t overwork the dough. Mix just until the dough holds together. An overmixed dough will result in dense and tough scones.
- Form the dough evenly. Make an evenly round dough and keep the thickness as consistent as possible. Also, slice them into equally sized pieces. This ensures that everything bakes evenly.
- Slice easily. To keep the dough from sticking to your knife or cutter, lather it in plain flour before using.
- Space them apart. If you want the vanilla scones to be really moist but still get that crusty edge, space them an inch apart from each other.
- Make it gluten-free: Use a gluten-free flour, baking powder and vanilla extract brand.
Variations and Toppings
Coconut flakes and lime zest are used for this recipe. But there are so various ways to top and enjoy your scones!
- Fresh Fruit: Add some fresh fruits to make the perfect breakfast treat. Just chop, top, and eat. You can also use fruit jams and marmalades.
- Powdered Sugar: Keep it simple by dusting the tops of the scones with powdered sugar.
- Whipped Cream: A dollop of whipped coconut cream or vegan ice cream makes it into a perfect dessert!
- Sugar Glaze: Make a simple sugar glaze by whisking powdered sugar and lemon juice until thick. Drizzle on top of the scones to add more sweetness with a touch of tang! You could try this easy strawberry glaze or pumpkin spice glaze for added flavor!
- Maple syrup: Drizzle it as you would your pancakes!
- Cinnamon: Add some cinnamon powder to add some festive fall flavor to your scones!

FAQs
If you notice that the dough crumbles too much when placed on the cutting board, then add a little extra vegan buttermilk. If it becomes too sticky, then you can add more flour. This recipe has been tried and tested, so I suggest sticking with the measurements provided.
To begin, make sure you’re using fresh baking powder, preferably one that hasn’t been opened for more than six months. Also, if you over-knead the dough, the scones will not rise as high. Also, do not use too much flour when dusting, as excess flour stops the dough from rising.
It’s possible that the oven is too hot, causing the cake to rise too quickly and crack once it’s done. It may be helpful to invest in an oven thermometer to double-check that your heat settings are correct.
Storage Instructions
- At room temperature. To keep your vanilla scones from drying out, store them in an airtight container, bread box, or large freezer bag. They’ll keep for 1-2 days at room temperature. Microwave them for 5-10 seconds at a time and enjoy them as soon as they come out.
- In the fridge. Storing vanilla scones in the fridge will make them last for about a week in an airtight container.
- In the freezer. Scones freeze nicely, so storing them for a longer amount of time is no problem! You can freeze them before or after baking, depending on your preference. You should be able to store them for up to three months.

Serving Suggestions
- Fruit: Serve as part of a light breakfast with a Mexican fruit salad or Thanksgiving fruit salad, optionally topped with whipped coconut cream.
- Coffee: Coffee and scones are a classic combo. Try it with this Biscoff latte, pumpkin spice latte, or even a healthy coffee milkshake.
- Tea: Make it a classic tea party rosemary tea or lemon cinnamon ginger tea. Or give it a fun twist with boba milk tea.
- Brunch: Make a whole baked goods spread with coffee cake, a lemon blueberry loaf, orange olive oil cake, or even this fancy zucchini tart.
More Vegan Scone Recipes

Vegan Desserts
Vegan Lemon Blueberry Scones
Vegan Breakfasts
Vegan Pumpkin Scones
Vegan Desserts
Vegan Walnut Oat Scones
![completed Easy Strawberry Glaze [For Cookies, Cake, Donuts] in bowl](https://plantbasedonabudget.com/wp-content/uploads/2024/06/Strawberry-Glaze-PBOAB-Plant-Based-on-a-Budget-40-378x378.jpg)
Vegan Desserts
Easy Strawberry Glaze [For Cookies, Cake, Donuts]
If you tried this vanilla scones recipe or any other recipe on my blog, please leave a 🌟 star rating and let me know how it went in the 📝 comments below. Thanks!
Photos by Alfonso Revilla
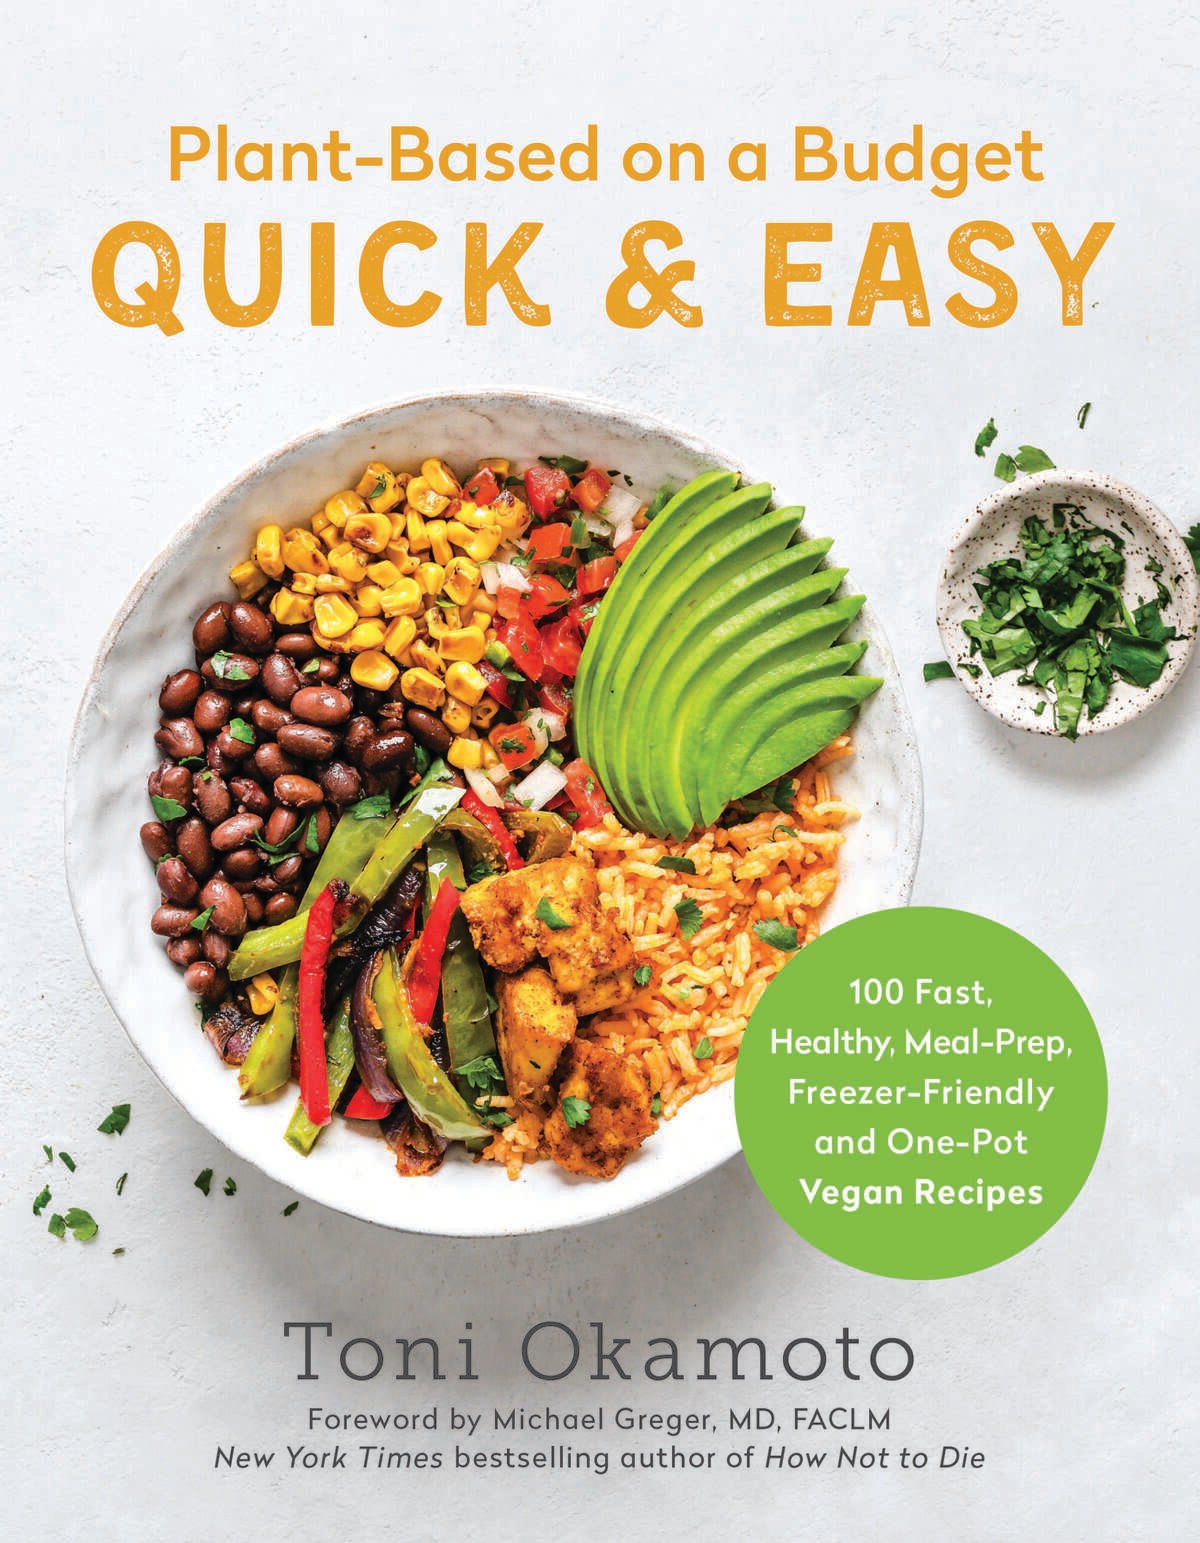

If you’re loving my recipes and would like a more comprehensive resource, check out my cookbooks!
Vanilla Scones

Want to save this recipe?
Ingredients
- 4 cups all-purpose flour
- 1 ½ cups vanilla plant-based milk
- 4 tablespoons granulated sugar
- ½ cup coconut oil
- 3 tablespoons coconut shreds optional
- 1 tablespoon lemon juice
- 1 teaspoon baking powder
- ½ teaspoon baking soda
- 2 teaspoons vanilla extract
- Pinch salt
Instructions
- Preheat your oven to 375 degrees F and line two large baking sheets with parchment paper or a silicone mat.
- Measure out your plant-based milk and lemon juice, mix together, and set aside. This combo will act as your ‘buttermilk’.

- In a large bowl, combine all your dry ingredients. Whisk together till everything is evenly dispersed. Add in your oil and ‘buttermilk’ and mix till fully combined. You might want to use your hands.
- Lightly flour a countertop and divide your dough in half, evenly. Plop your dough onto the counter. you want to start forming the dough into a circle. Keeping the thickness as even as possible so everything cooks the same.
- Cut into 8 even triangles. Line your baking sheet, keeping them about 2 inches apart from each other. Then repeat with the other half of the dough. Bake for 16-20 minutes, or until golden brown. Alternating baking sheets midway through.
- Finish off with extra coconut flakes, lime zest or a cup of coffee 🙂 Enjoy!


Notes
- Measure your flour. Use a spoon to scoop it into the measuring cup and then level it off with the back of a knife. Having too much flour can result in a dry and crumbly dough.
- Don’t overwork the dough. Mix just until the dough holds together. An overmixed dough will result in dense and tough scones.
- Form the dough evenly. Make an evenly round dough and keep the thickness as consistent as possible. Also, slice them into equally sized pieces. This ensures that everything bakes evenly.
- Slice easily. To keep the dough from sticking to your knife or cutter, lather it in plain flour before using.
- Space them apart. If you want the vanilla scones to be really moist but still get that crusty edge, space them an inch apart from each other.
- Make it gluten-free! Use a gluten-free flour, baking powder and vanilla extract brand.

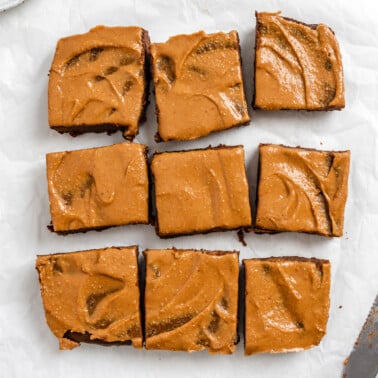
![completed EASY Chocolate Depression Cake [Wacky Cake] sliced against a white surface](https://plantbasedonabudget.com/wp-content/uploads/2023/01/36-Crazy-Cake-Plant-Based-on-a-Budget-1-2-378x378.jpg)


Do you have to use coconut oil
Hi! Using coconut oil will keep the scones moist for days! You can use vegan butter as a substitute.
can I sub half of oil for yogurt or something else?
We at plant-based on a budget haven’t tried out that sub yet so can’t guarantee the results. If you end up trying out a sub, please let us know how it turns out for you 🙂