This site uses affiliate links and I may earn a commission at no extra cost to you.
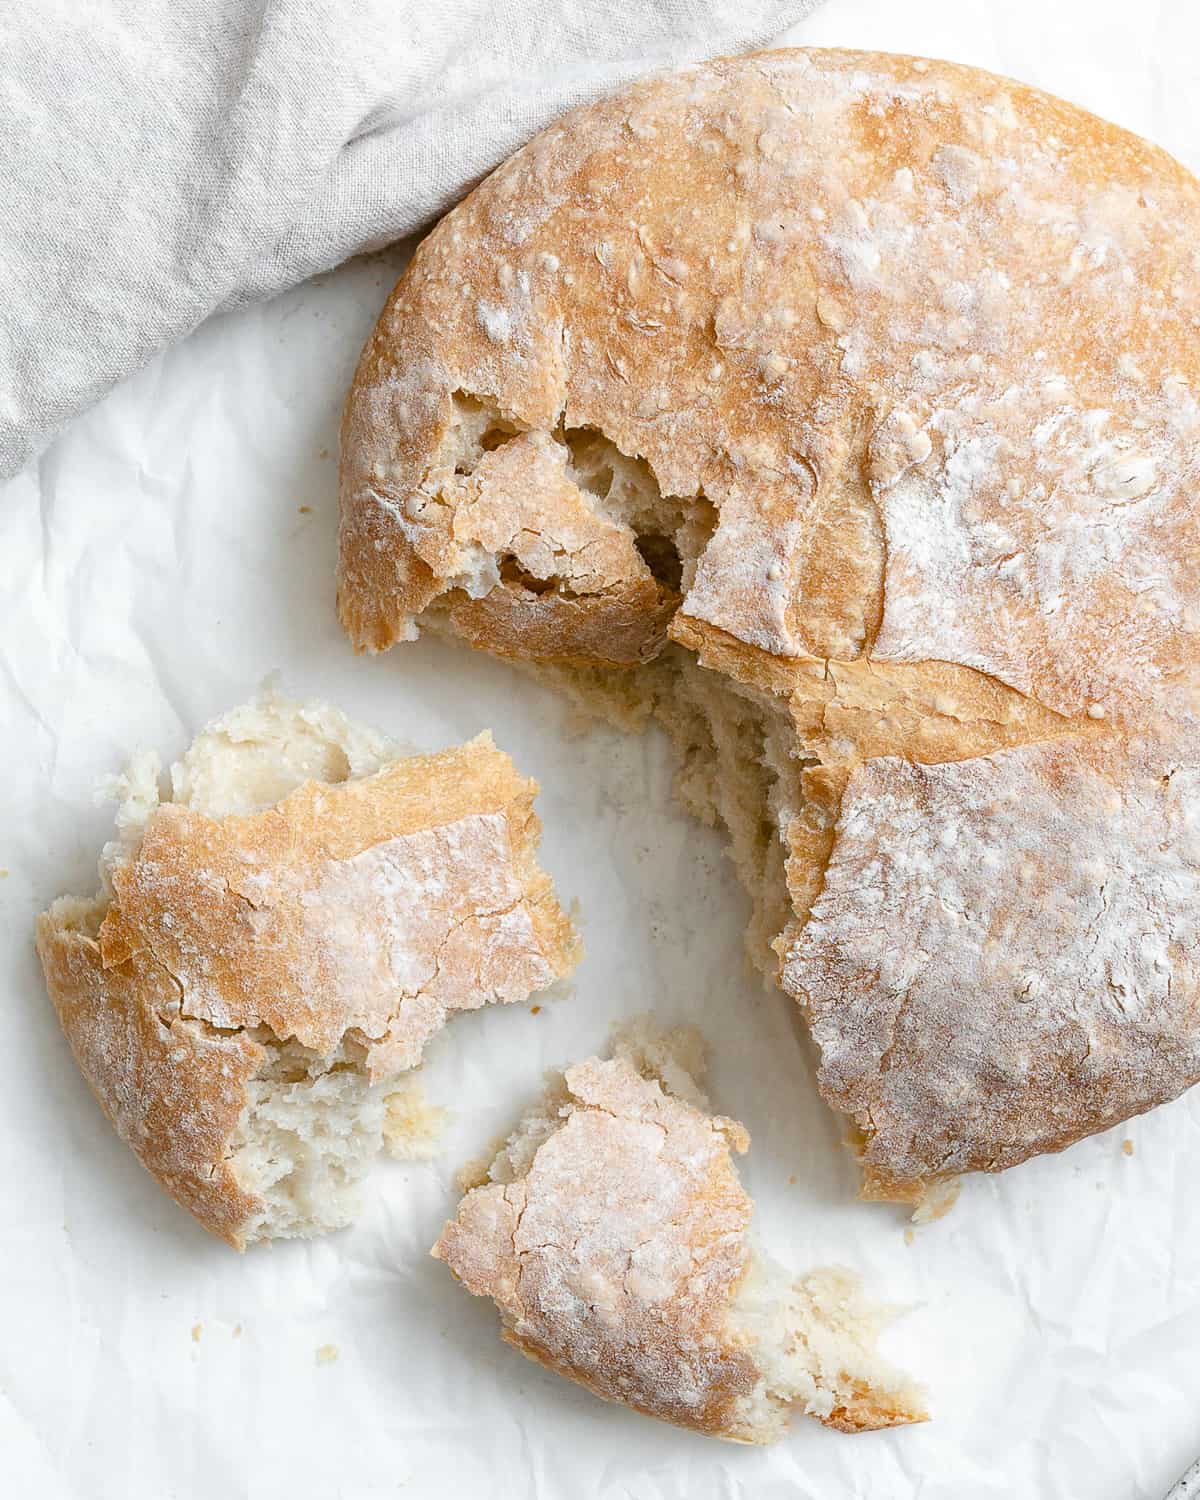
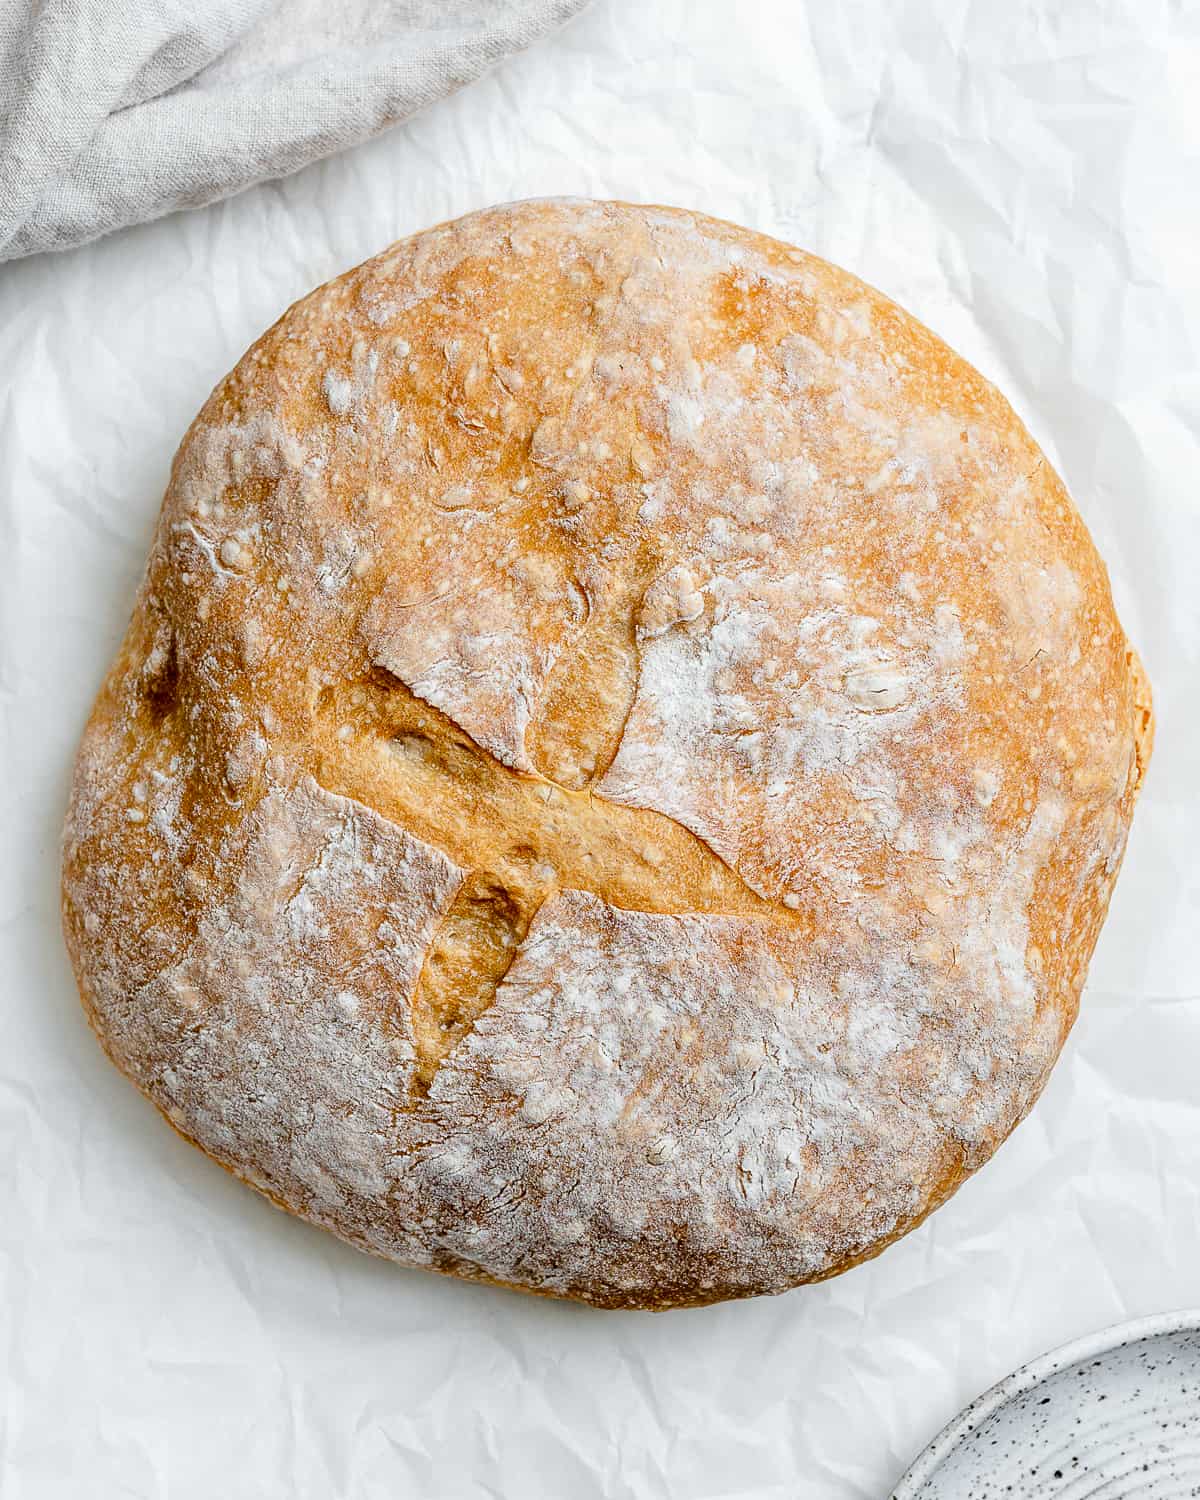
Making bread has never been easier with this 4-ingredient, quick, no knead bread recipe. It’s soft and chewy inside with a perfectly golden crust and requires just 5 minutes of hands-on prep and 2 ½ hours of proofing!
Want to save this recipe?
The Easiest, Quick, 4-Ingredient No-Knead Bread For Beginners
If you’ve never made bread before, you may think it’s a long and arduous process, but that doesn’t have to be the case! In fact, while this easy bread recipe is slightly long, most of that time is for the dough rising. Otherwise, this no-knead bread recipe takes very little effort, just 5 minutes of hands-on prep, and 0 kneading!
This quick, no-knead artisan bread requires no mixer, no special starter, and only a short 2 ½ hours of proofing vs. the regular overnight proof, and no previous bread-making knowledge. It’s also extremely forgiving, including using a longer proofing time for a more yeasty, developed flavor or adapting it with optional mix-ins.
You can also make this no-knead bread without a Dutch oven if you don’t have one; just a regular baking tray will do. With very little effort, you can produce artisan-quality, rustic, hearty free-form bread! It truly is the perfect beginner loaf for enjoying as toast, making sandwiches, and dipping in soups and stews! If you’re looking for another easy bread recipe, you will also like this easy vegan garlic bread and vegan naanan!
The Ingredients To Make Bread
This basic easy bread recipe relies on just 4 ingredients.
- Flour: We usually use all-purpose flour, though white bread flour works even better. You could also use a 2:3 blend of whole wheat and white flour, though the no-knead yeast bread loaf will be denser.
- Yeast: For this no-knead crusty bread, you’ll need instant yeast, which requires no ‘activation.’ To use active dry yeast, check the FAQs.
- Water: It’s important to use lukewarm water (around 110-115F) to help activate the yeast and form the dough for this fast no knead bread.
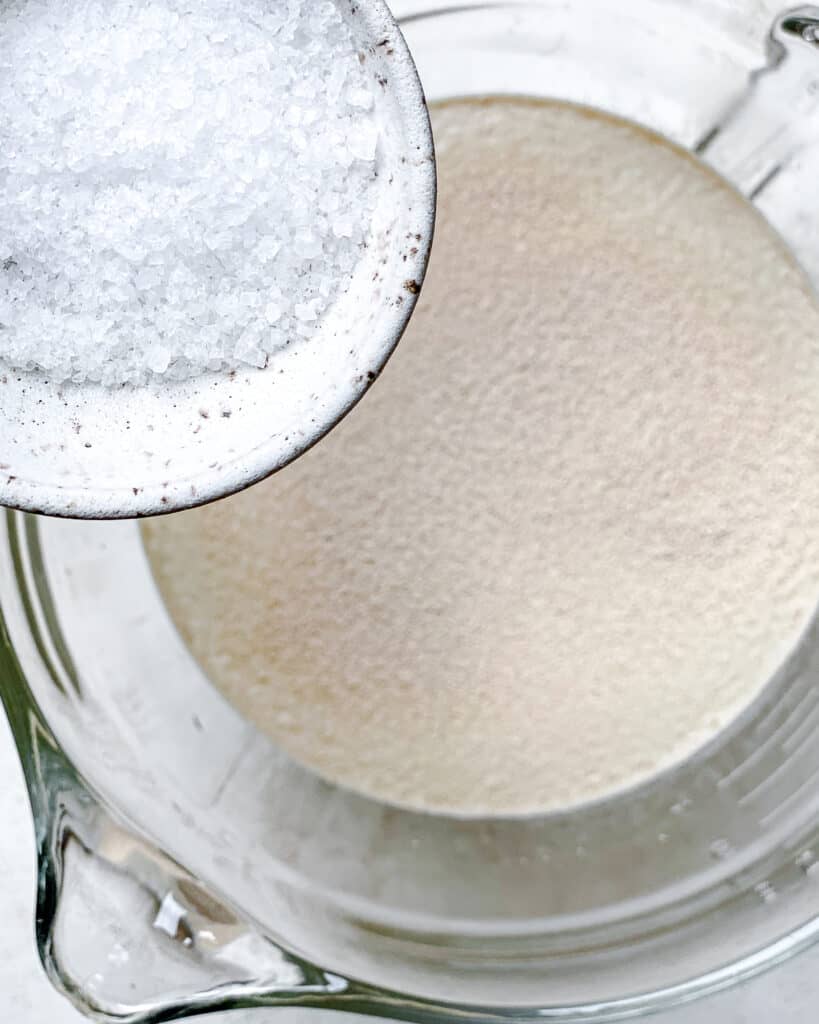
- Salt: To lightly season this easy yeast bread.
How To Flavor Bread?
With the simple bread recipe sorted, it’s easy to make dozens of different flavored varieties to fit any occasion. Mix them in during step 2.
- Garlic: Add garlic powder or 1-2 minced garlic cloves.
- Everything bagel seasoning: Add 1-2 tbsp for crunch and flavor.
- Vegan cheese: Vegan parmesan or sharp cheddar work well for a delicious no-knead plant-based cheese bread. Add between ¼-¾ cups based on how subtle you’d prefer the flavor.
- Jalapeño: De-seeded and finely chopped. Adjust the amount to taste.
- Olives: Finely chopped green and/or black olives will add a salty, briny flavor and texture. Add about ¼ cup.
- Sun–dried tomatoes: Add 2-3 tablespoons, finely chopped.
- Herbs: Use fresh or dried herbs, like rosemary, sage, Italian seasoning, etc.
- Nuts and seeds: Add 1-3 tablespoons of raw or toasted mixed seeds, pumpkin seeds, or chopped nuts (walnuts, pistachios, etc.).
- Flaky sea salt: Sprinkle a little over the top of the loaf before baking.
You can also combine any of the above in many delicious ways. I.e., garlic + herbs, vegan cheese + garlic, tomato, olive + herb with optional vegan cheese, etc.
- Cinnamon raisin bread: Add ⅔ cup raisins, 1-2 tsp cinnamon, and 2-3 tbsp brown sugar or coconut sugar. Optionally add ½ tsp vanilla extract.
- Cranberry walnut bread: Add about ½ cup each of nuts and dried cranberries. Optionally add a little sugar and/or orange zest.
How to Make Quick No-Knead Bread
This homemade bread recipe really couldn’t be any simpler. All you need are four ingredients and just 5 minutes of prep time.
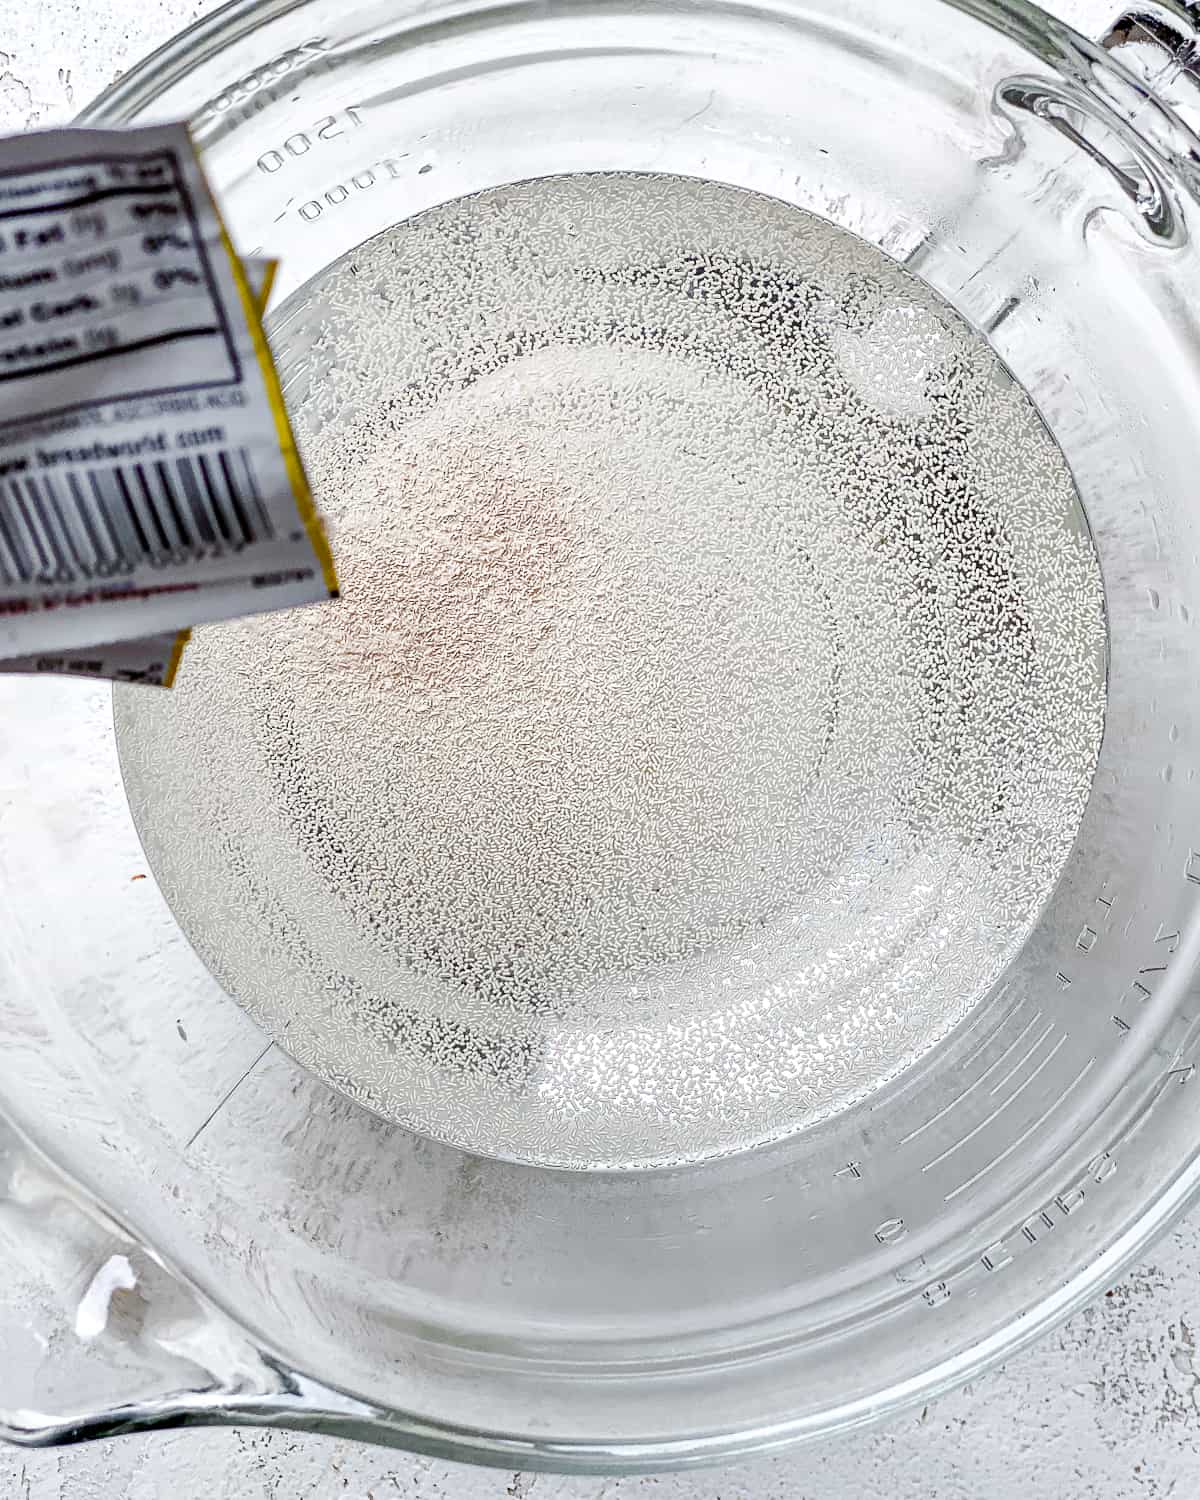
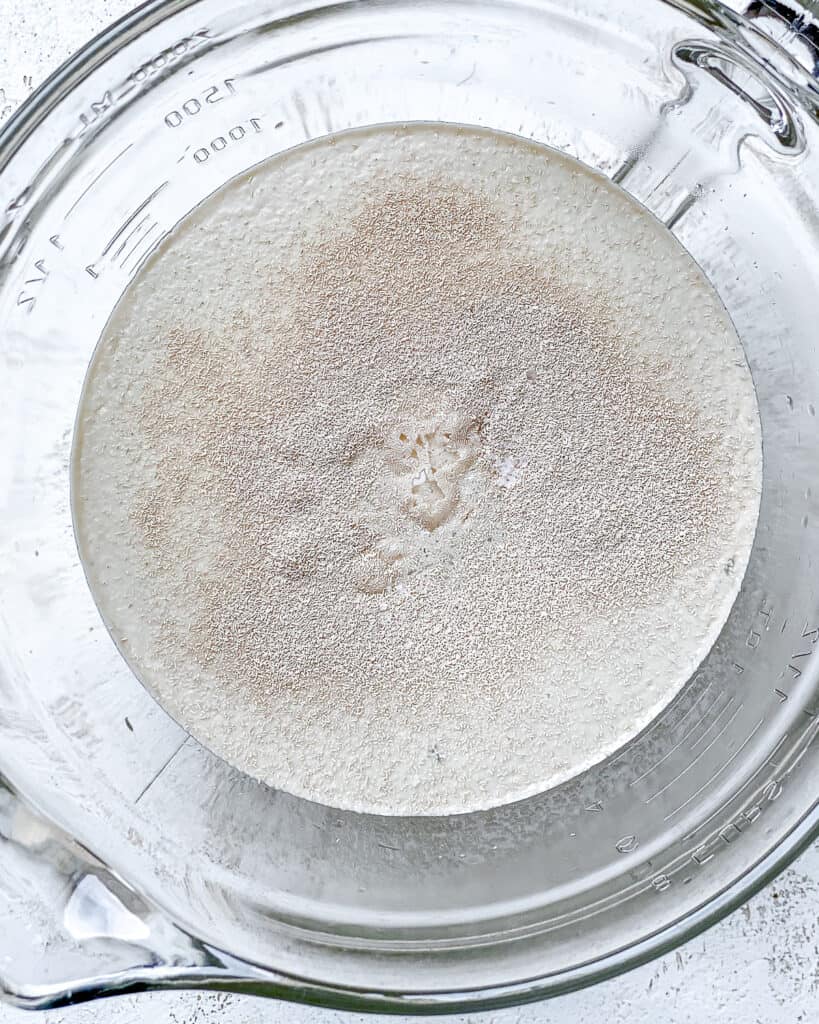
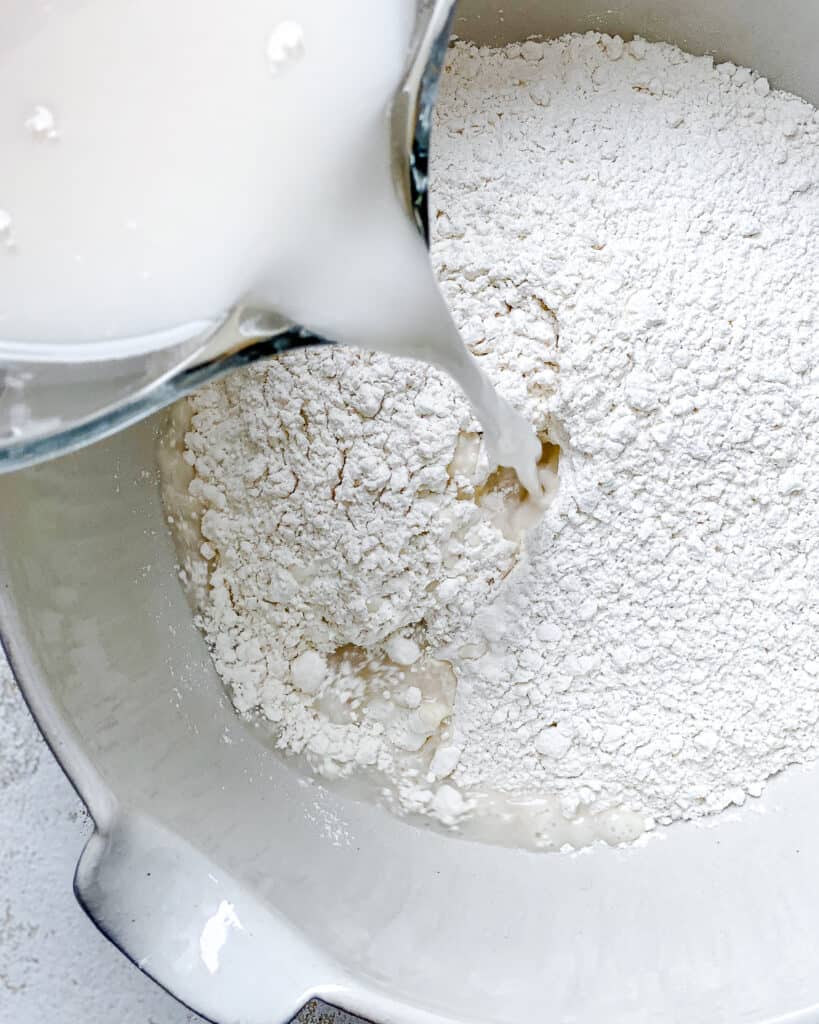
- 1) First, combine the yeast, warm water (between 110-115F/43-46C is best – too hot will kill the yeast, and not warm enough won’t activate it), and salt in a large bowl. No need to mix or wait for it to dissolve.
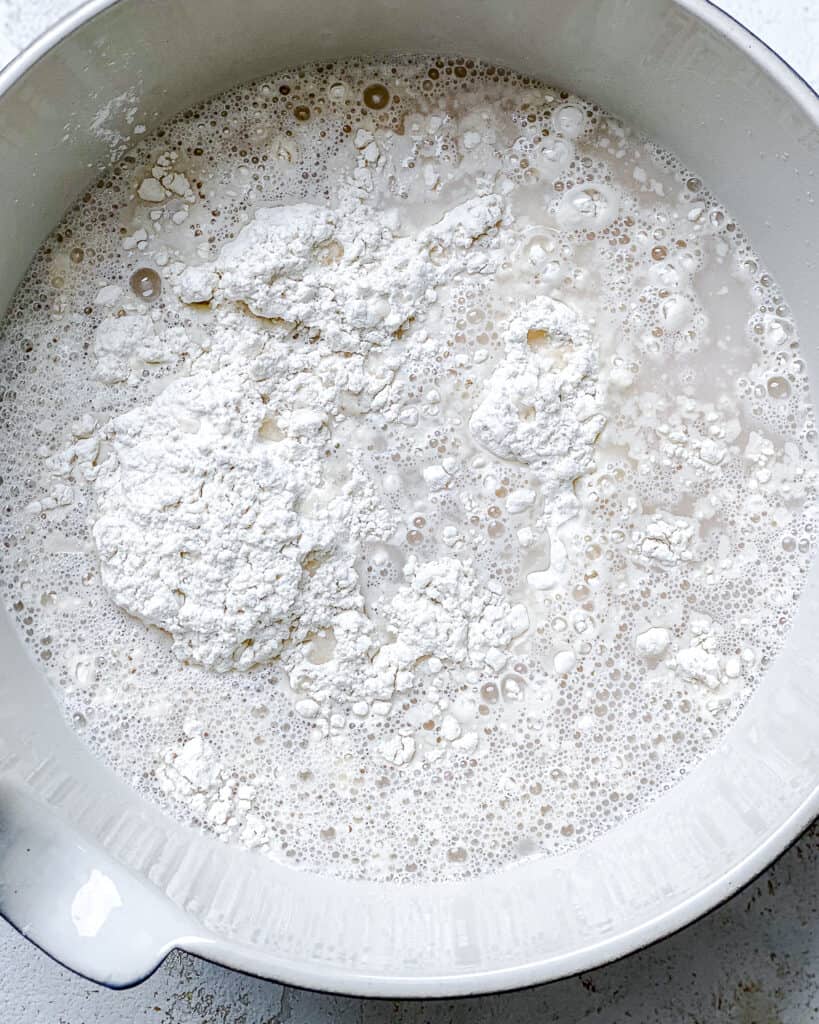
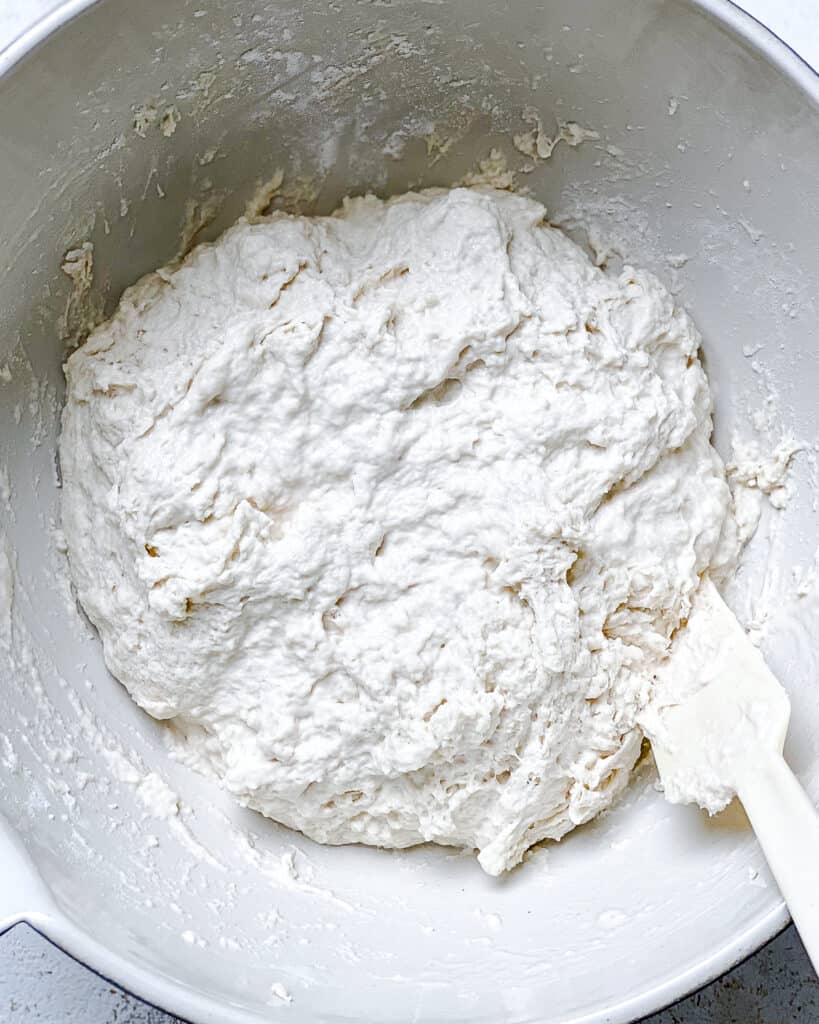
- 2) Add the flour and use a wooden spoon or your hands (ensure they’re really wet) to mix it until it’s a sticky, shaggy dough (no need to knead).
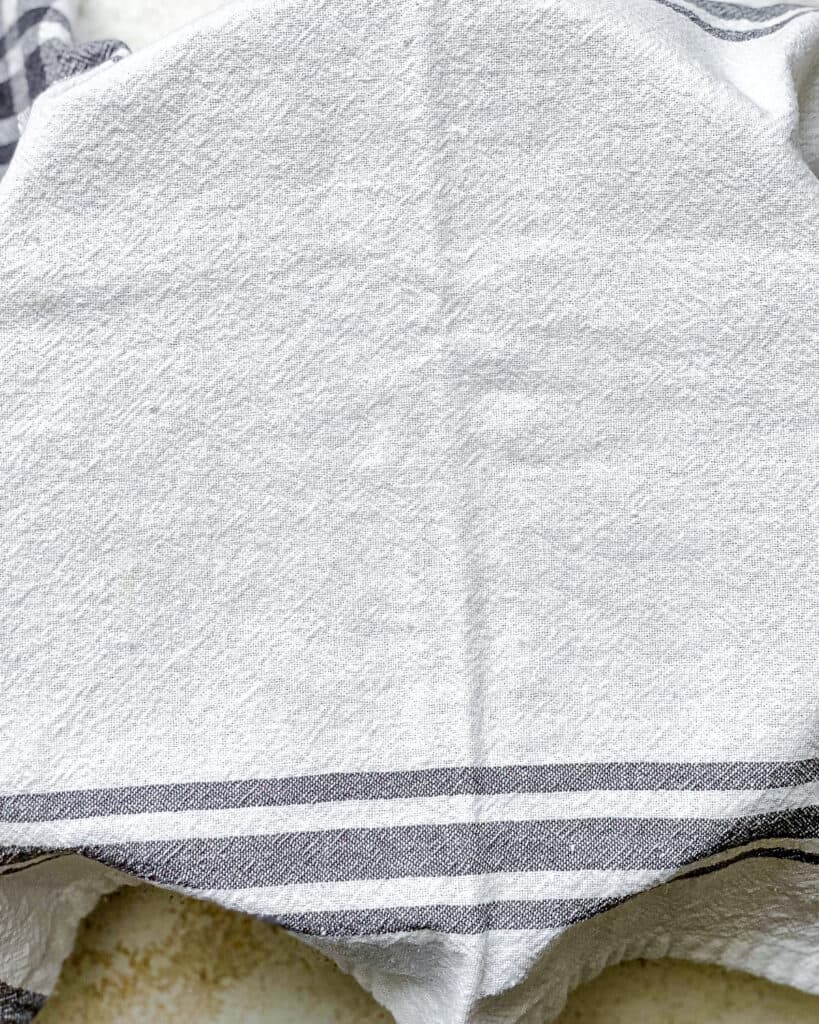
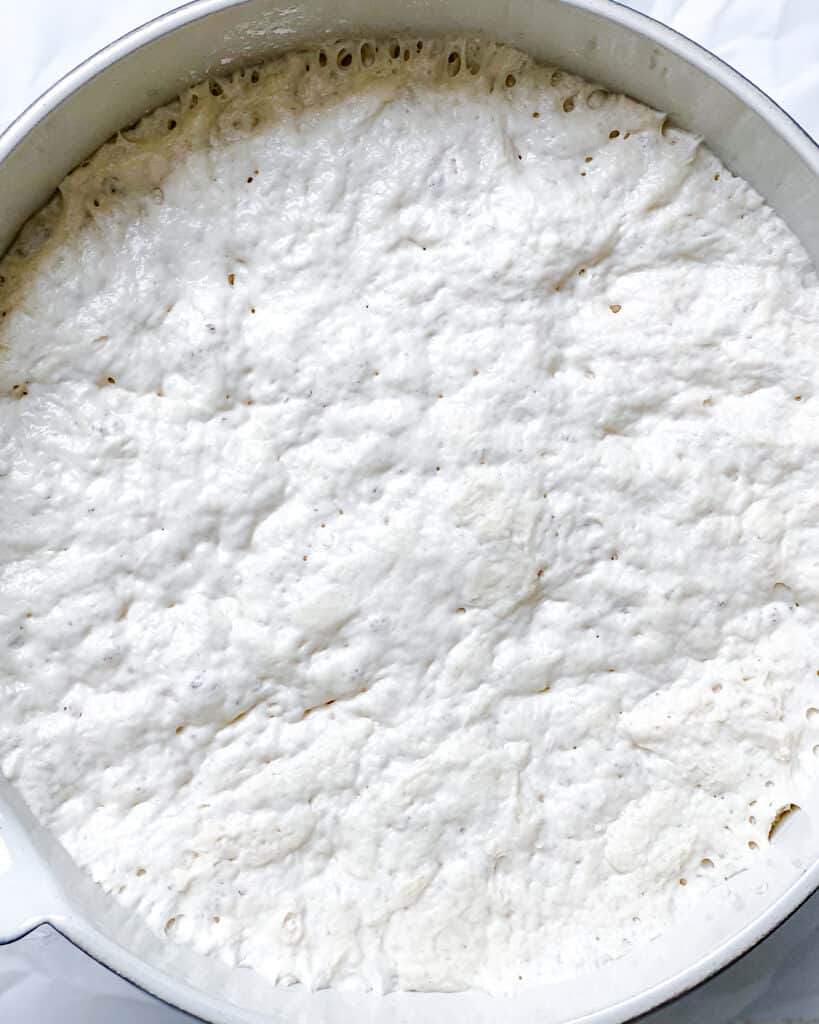
- 3) Cover the bowl with a warm damp tea towel or plastic wrap and leave it to rise in a warm, draft-free area (like in the oven with its light on – at around 70F/21C is best) until it doubles in size. This will take 1-2 hours but can be left overnight to develop the flavor.
For One Large Loaf
- 1) Then, as if the dough has four ‘sides,’ gently stretch one side up, fold it over to the center of the bowl, and repeat with the remaining three ‘sides.’
- 2) Turn the bowl over to deposit the loaf onto floured (or use cornmeal/wheat bran) parchment paper to create a nice, rounded loaf.
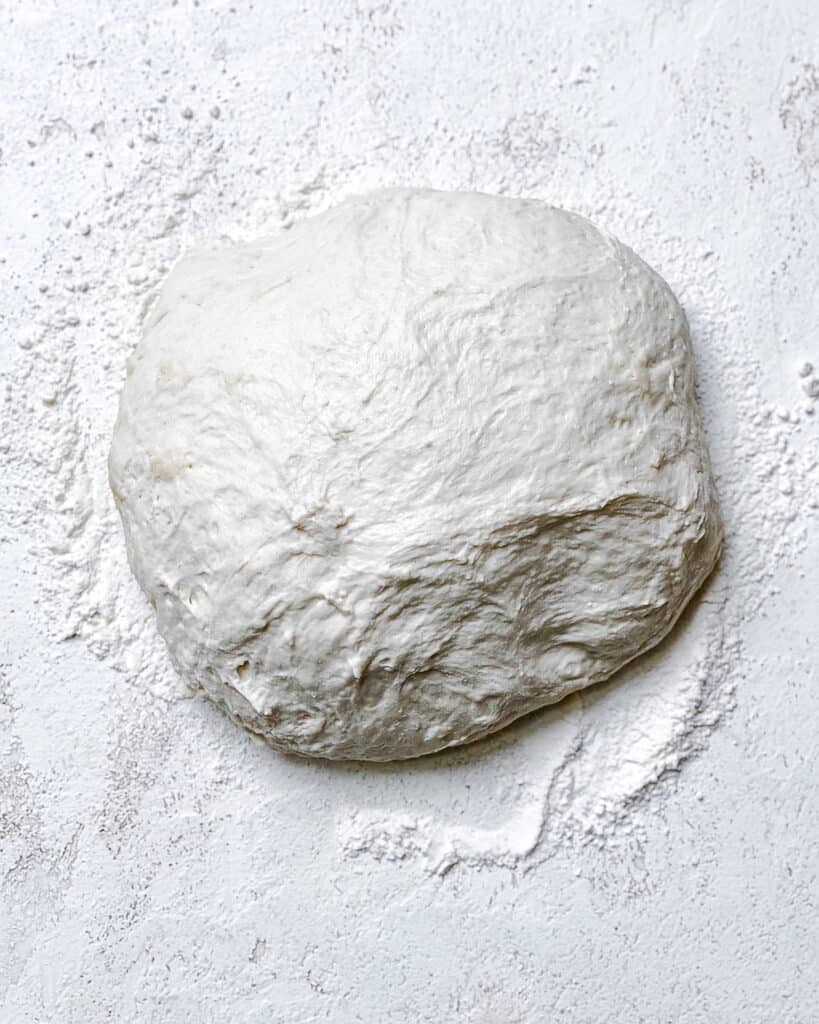

If not, shape it by hand, pinching the seams on the underside of the loaf.
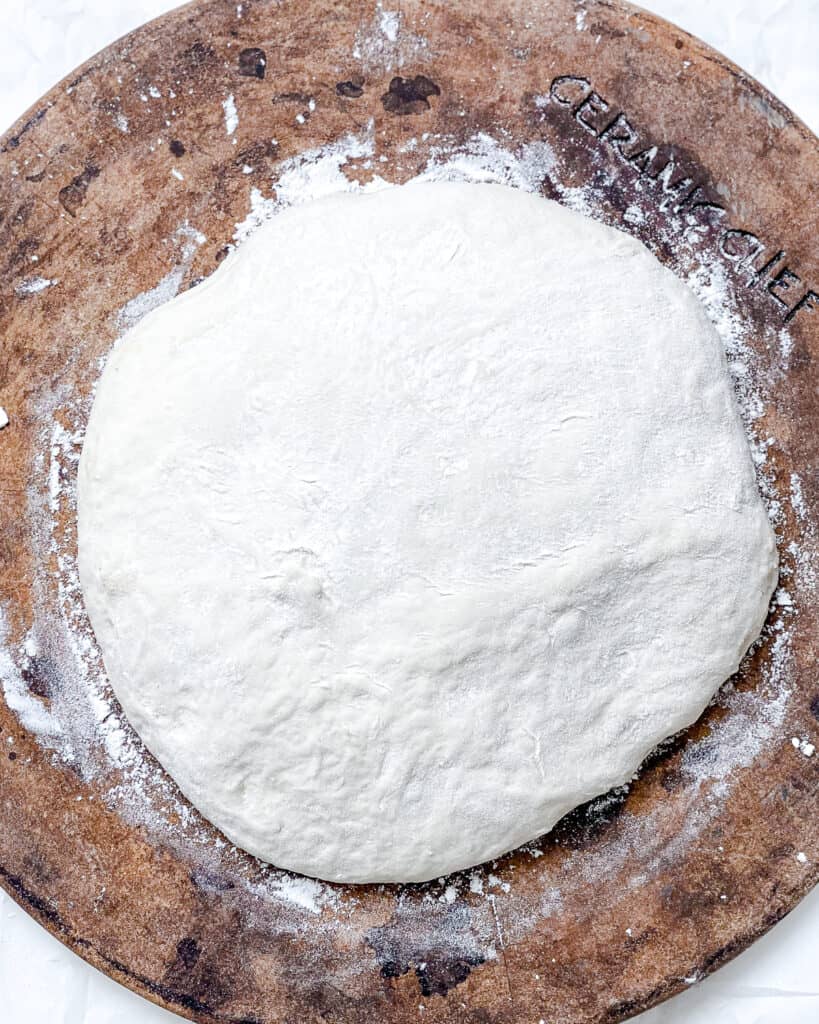
- 3) Cover it once more and leave it to rise for 30-40 minutes until the dough doesn’t readily spring back when poked.
- 4) After 20 minutes of rising, place a baking tray or baking stone in the oven and preheat it to 450F/230C. Place a smaller oven-proof dish on the bottom rack.
- 5) Once risen, score the top of the loaf with a large X using a sharp blade, then transfer it to the preheat tray/stone in the center of the oven and carefully pour a cup of water into the dish on the bottom rack.
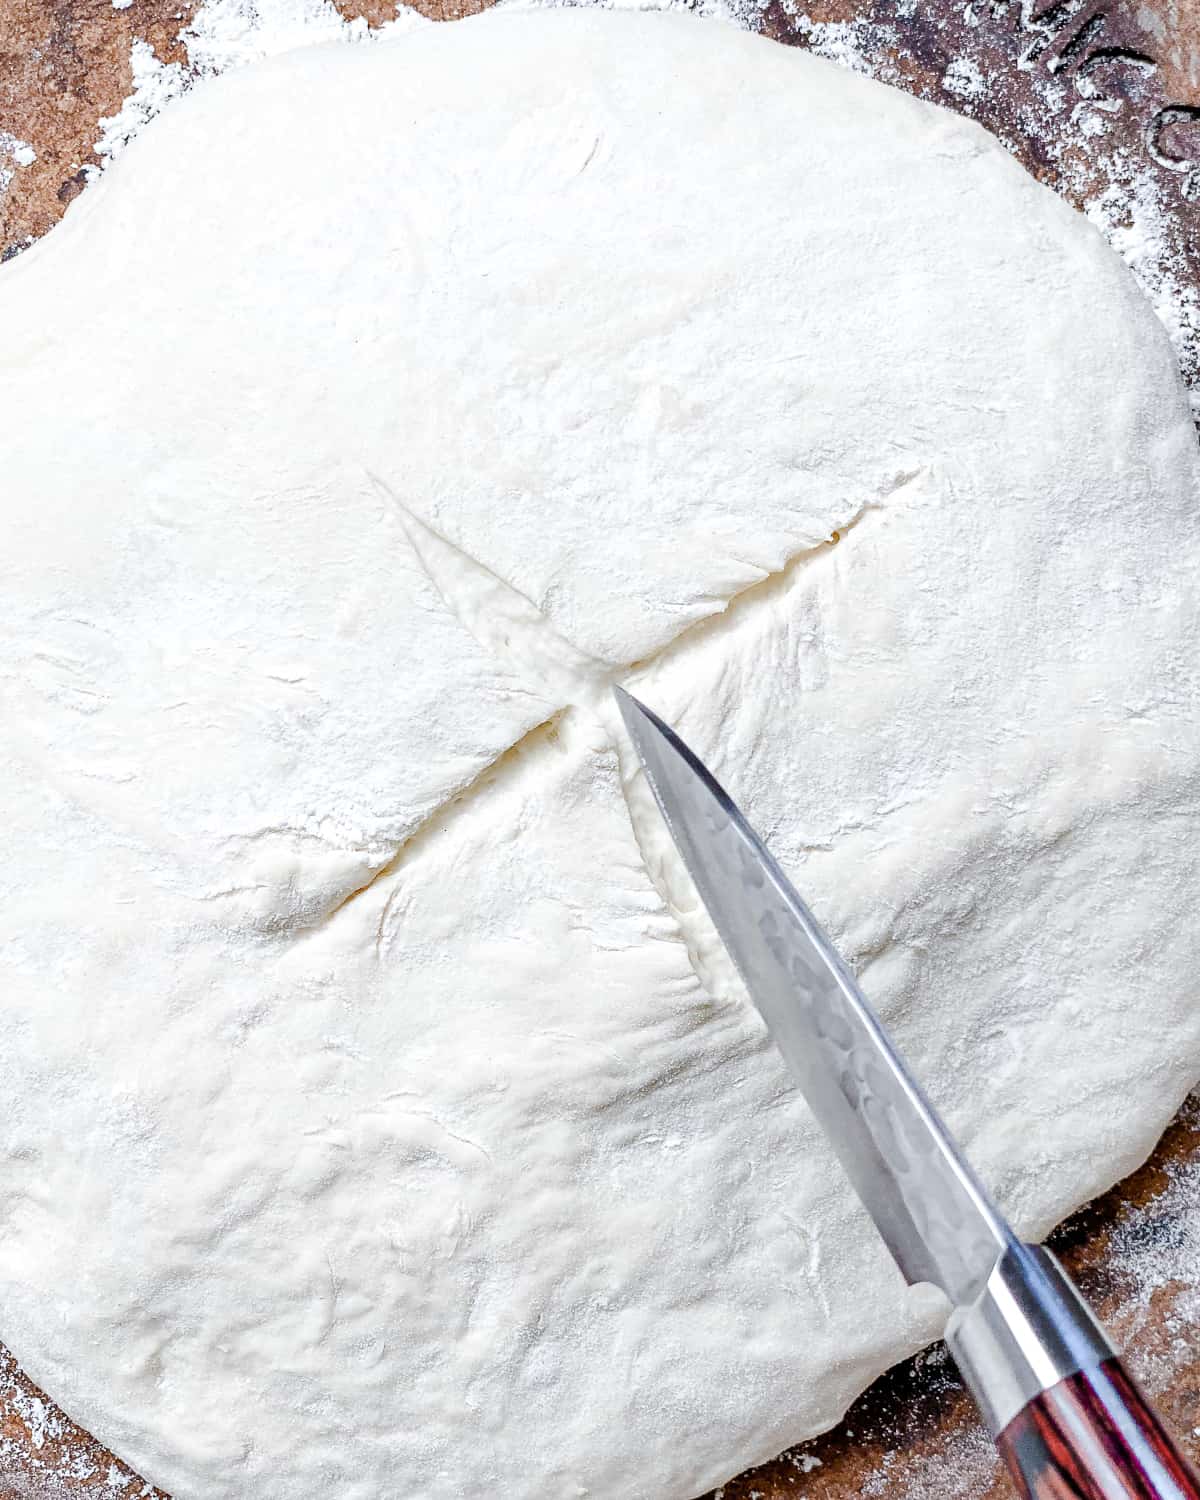
This water will steam in the oven and help to create a really nice crust on the loaf.
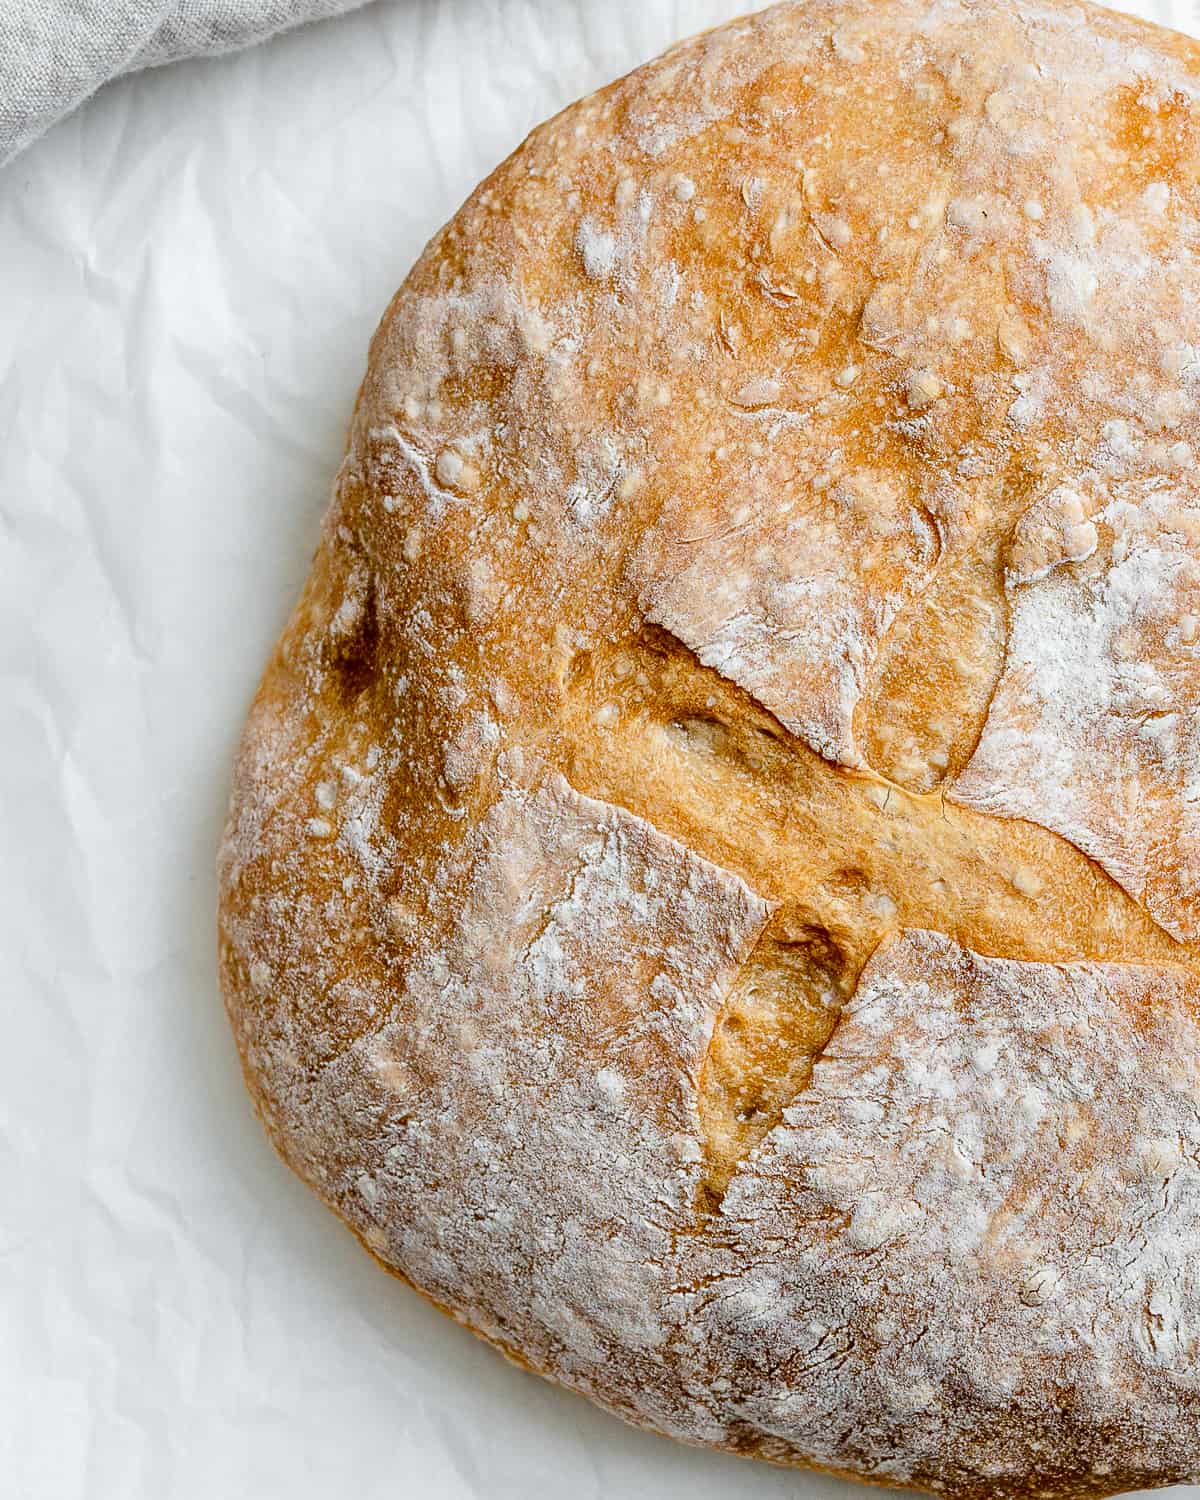
- 6) Bake the loaf for 30-40 minutes until golden-brown outside and hollow when tapped on the bottom. Then leave it to cool completely before serving. Enjoy!
For Multiple Smaller Loaves
We often like making just one small loaf to begin and store the remaining dough in a Ziplock/Stasher bag (excess air removed) in the fridge for 4-5 days.
Then, whenever you want fresh bread, tear off a grapefruit-sized piece, shape it in 60 seconds, and bake as written above for about 30 minutes or until the crust is golden brown!
FAQs
A Dutch oven mimics a professional bread oven by increasing radiating energy and humidity. To make no-knead Dutch oven bread, preheat the Dutch oven for 30 minutes in the oven and place the bread on enough parchment paper, so there’s slight overhang (easier to remove afterward).
Bake the bread with the lid on for 30 minutes, then remove the lid and bake for a further 10-25 minutes, until it’s your desired level of brown.
Bread flour has a higher protein content and, thus, more gluten. This makes for an easy yeast bread with better structure and height and a chewier texture.
It’s ready when the crust is golden to golden brown and sounds hollow when tapped on the bottom. If you have a thermometer, the center of the bread should read 210F/99C.
Yes, but you’ll need to use an extra 25% and activate it by combining the yeast and warm water in a bowl (without the salt and optionally add a teaspoon of sugar to feed the yeast), then leave it to activate and become frothy in about 5 minutes.
Then, after mixing the dough, you’ll need to leave it to rise for 18 hours at room temperature or up to 3 days in the fridge.
Top Recipe Tips and Notes
- Ensure the yeast is in date: If it isn’t fresh, the bread won’t rise.
- The dough’s consistency: It should look wet and sticky, like a shaggy dough, before rising. This is normal, so don’t mix in more flour.
- Short vs. long rise time: A longer rise time will further develop the flavor of the bread and create a more porous texture. After the initial rise, punch down the dough and transfer it to a bowl, lightly oiled and covered, to the fridge for up to 3 days, punching it down gently as necessary (to lightly deflate it).
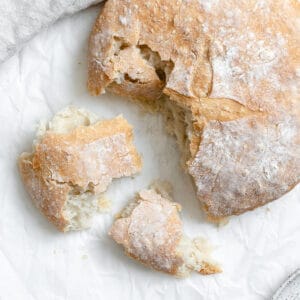
- Leave it to cool: The residual heat will help fully cook the inside. Meanwhile, the bread will properly ‘set’ as it cools.
- To avoid burn: Sometimes, a piece of the crust rises and browns too quickly. Simply tent a small amount of foil over that part.
Storage Instructions
Once baked, we love eating it warm out of the oven. However, you can store any leftovers in a cloth bag or wax paper at room temperature for 2-3 days.
Alternatively, you can freeze the quick artisan bread in a freezer-safe Ziplock/Stasher (wrap with a layer of plastic wrap first) for up to 3 months. Then thaw it at room temperature when needed.
To freshen up a hard loaf, sprinkle it lightly with water and bake or microwave until warm. You can also use slightly stale bread to make croutons or turn them into breadcrumbs.
More Vegan Bread Recipes
- Skillet Cornbread
- Vegan Focaccia Bread
- Homemade Sandwich Bread
- Everyday Sandwich Bread
- Sweet Potato Biscuits
- Jalapeño Cornbread
Photos by Alfonso Revilla
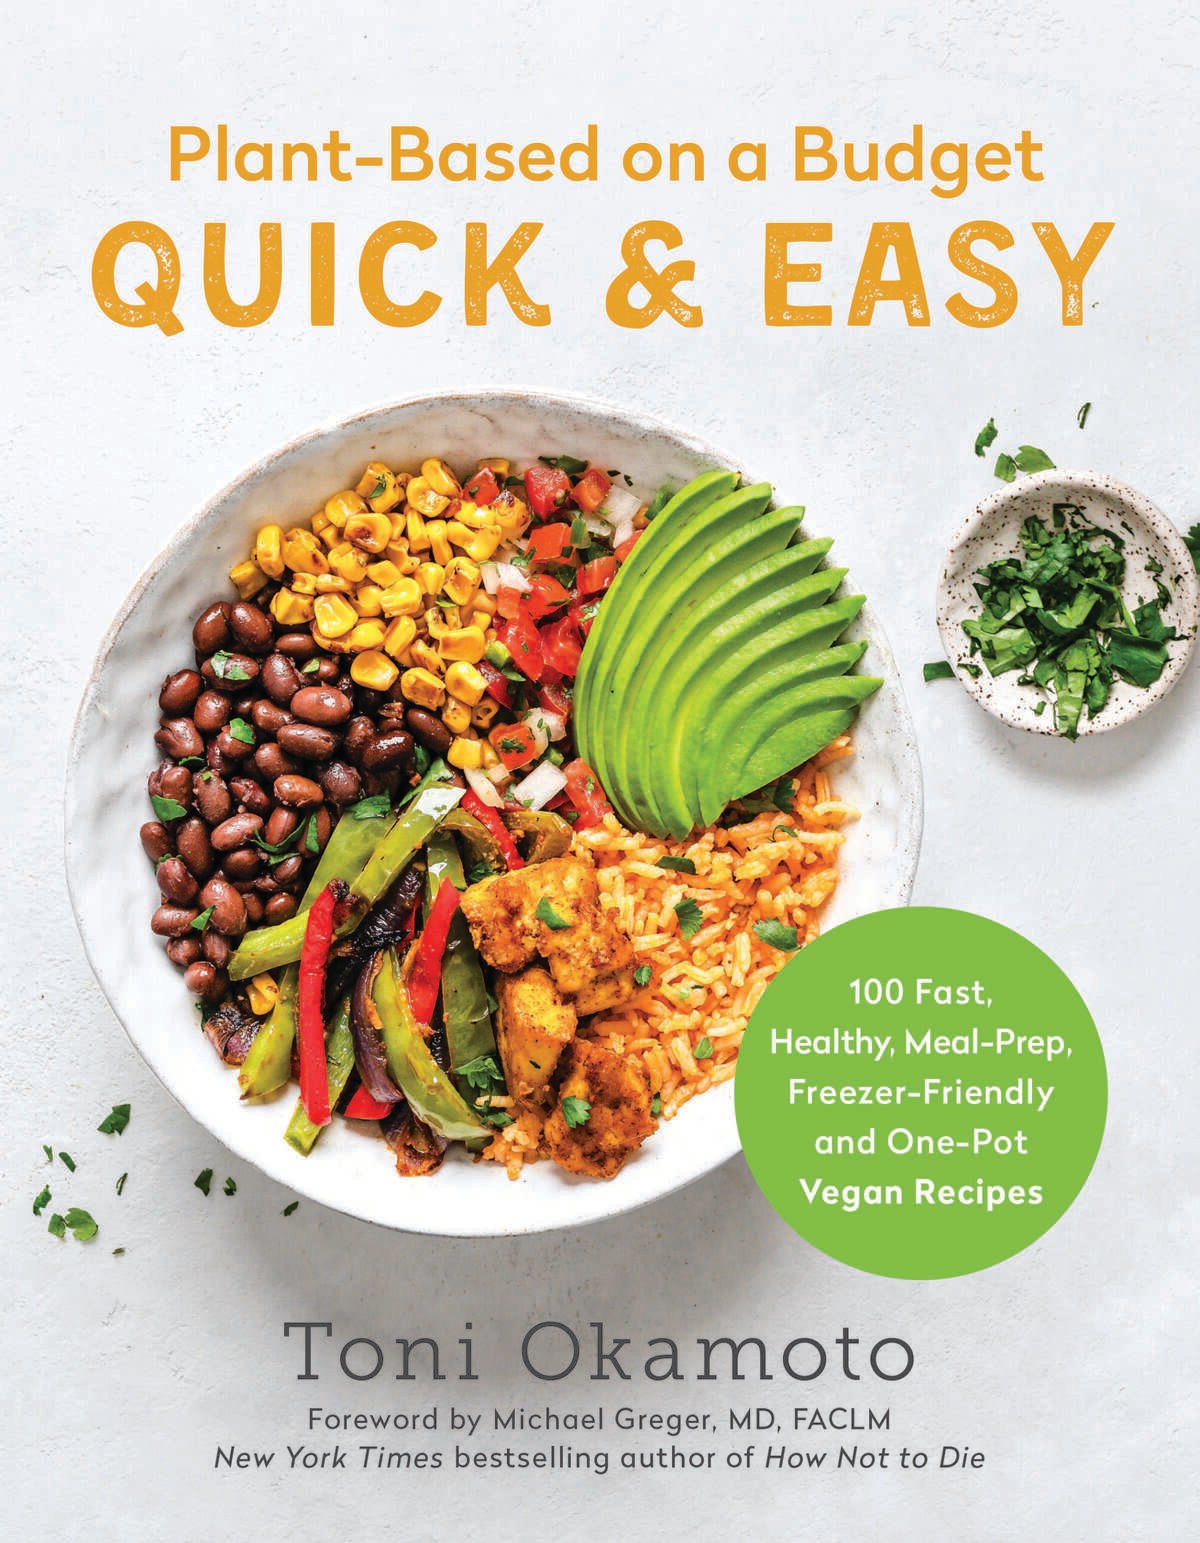

If you’re loving my recipes and would like a more comprehensive resource, check out my cookbooks!
The Easiest No Knead Bread
Want to save this recipe?
Ingredients
- 3 cups of lukewarm water
- 1 ½ tablespoons of granulated yeast about 2 packets – any brand/style will do
- 1 ½ tablespoons of coarse salt
- 6 ½ cups of unbleached all-purpose flour
Instructions
- Add the yeast and the salt to the warm water (about 110 degrees F) in a large bowl. You don't need to mix it or wait for it to dissolve.
- Add the flour. No need to sift or pack the flour. Simply scoop it up, sweep level, and add all of it to the water mixture.
- Use a wooden spoon or your (very wet) hands to mix in the flour. It's not necessary to knead the dough. Just mix it together until it's uniformly moist.
- Cover the bowl and allow it to rise in a warm spot until it's about twice its size. I cover it with a hand towel and put it in the sun. This will take about 2 hours.
- It's recommended that you allow the dough to then sit in the fridge for a few hours, but if you're like me, you're ready to eat. Cut off a grapefruit sized chunk of dough and with floured hands, stretch and mold it into a ball. Again, no need to knead – this shouldn't take more than 60 seconds.
- Place the ball of dough onto a heavily floured surface you can later use to slide the dough into the oven (like a pizza peel). Flour the top of the ball and use a knife to cut a couple of slices into the top. Allow the dough to sit and rise for 40 minutes. After 20 minutes, turn the oven on to 450 degrees F (230 degrees C) and place a baking surface on the middle rack (a baking stone works best but a cookie sheet will work).
- After 40 minutes, slide the dough on to the baking surface. The trick is to add a pan with 1 cup of water to the bottom rack, which will help bake the bread with steam, making it soft in the middle. Bake for about 30 minutes or until the crust is golden brown.
- Keep the rest of the dough covered or in a freezer bag in the fridge until you're ready for another loaf (it will keep for well over a week). The initial dough making is the tedious part. However, when you're ready for a loaf, cut off a chunk of dough, spend 60 seconds to roll the dough into a ball, let rise for 40 minutes and cook for 30. You'll have fresh bread for 60 seconds of work.
Notes
- Ensure the yeast is in date: If it isn’t fresh, the bread won’t rise.
- The dough’s consistency: It should look wet and sticky, like a shaggy dough, before rising. This is normal, so don’t mix in more flour.
- Short vs. long rise time: A longer rise time will further develop the flavor of the bread and create a more porous texture. After the initial rise, punch down the dough and transfer it to a bowl, lightly oiled and covered, to the fridge for up to 3 days, punching it down gently as necessary (to lightly deflate it).


WOW great recipe! I love how the dough can just be left in the fridge for when you want to make a loaf of bread quick for breakfast or to give away! It’s SO good fresh out of the oven: the crust combined with the soft flesh is AMAZING! I was surprised that no kneading was required, and how simple this recipe was! Definitely keeping, thank you so much! :))
Right?! It’s so easy! So glad you gave this easy bread recipe a go! 🙂
Did you really mean salt in your recipe? I’ve always added sugar to yeast.
Hi! Yes, it’s correct 🙂 Hope you enjoy it if you end up giving it a try!
I love this recipe! It is easy and it is very good. Love that there is no sugar added. It has become my families favorite. It is so convenient to reach in the refrigerator and grab a portion of dough whenever we want fresh bread. I do let it proof longer than 40 minutes. It gives it a different texture. My favorite hack in the winter, is to put a heating pad on low and set the covered bowl on it for its first rise.
SO happy to hear that you and your fam have been enjoying this bread! Love those hacks!
So are the calories you have listed for the ENTIRE amount of dough that this makes?? Surely that is not per “serving”. Thanks
Hi – yes it is correct! It’s not the exact amount as it can fluctuate with different brands of ingredients, but it is a rough estimate.
Did you mean to write salt in the Easiest No Knead Bread recipe? I thought one always used sugar with yeast. In addition, the quantity seems excessive for salt.
Yes – it is correct!
Is step 2 supposed to say “Add the flour?”
Yes, thank you!
Can gf flour be used? Like Bob’s Red Mill 1 to 1?
We at PBOAB haven’t tried that out yet! Flour: We usually use all-purpose flour, though white bread flour works even better. You could also use a 2:3 blend of whole wheat and white flour, though the no-knead yeast bread loaf will be denser. 🙂
Wow so simple & easy! Definitely going to try
Let us know what you think 🙂