
This site uses affiliate links and I may earn a commission at no extra cost to you.
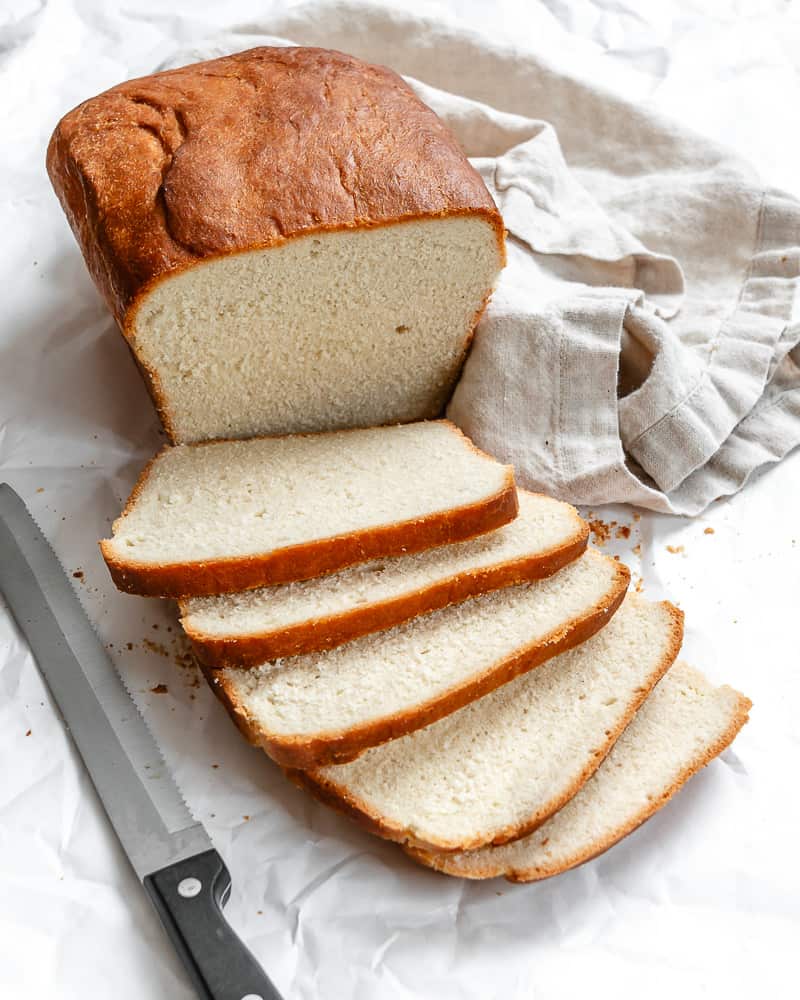
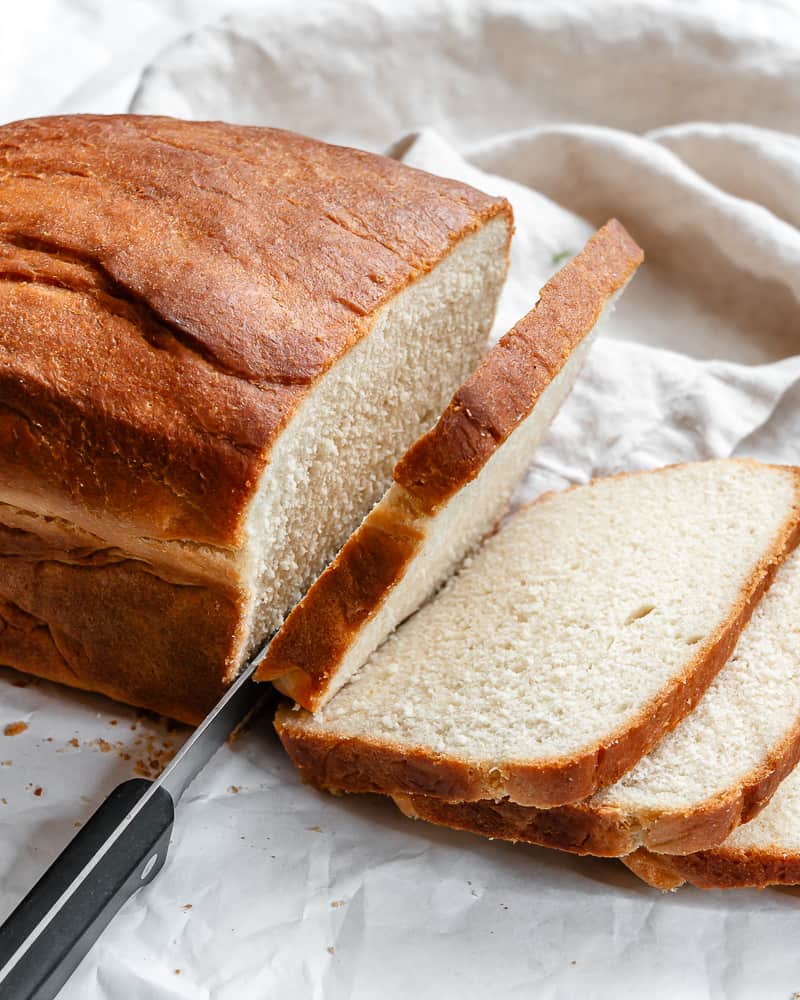
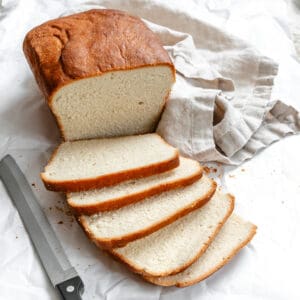
Make sandwich bread with simple, inexpensive pantry ingredients. This basic sandwich bread is soft & fluffy with a golden, chewy crust, and turns out perfect every time for the best toast and sandwiches!
Want to save this recipe?
Why You’ll Love This Recipe

You can make regular white sandwich bread in all its soft and fluffy glory, right at home! This easy vegan sandwich bread recipe is so simple to follow with my tips and tricks for the perfect loaf. Turn pantry staples into a ‘buttery’, tender loaf with a chewy, golden crust. It smells amazing, tastes even better, and you don’t have to worry about the additives in many store-bought loaves.
And if you’re new to using yeast, don’t be intimidated – just follow our step-by-step instructions. Like all bread-making, the more you make it, the more of a ‘feel’ you’ll get for working with the dough. Which is great, considering this is a timeless recipe you’ll want to return to time and time again.
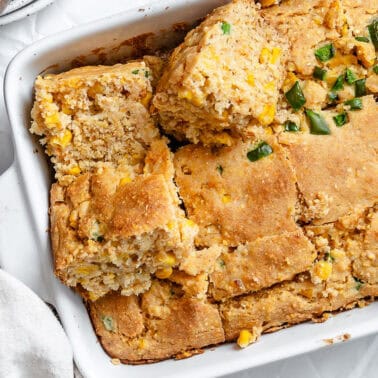
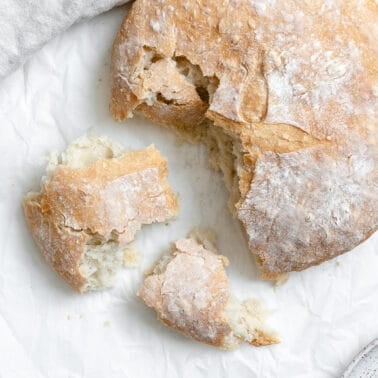
Looking for more bread recipes? You’ll love these the easiest no-knead bread, vegan focaccia bread, easy vegan dinner rolls, sweet potato biscuits, and jalapeño cornbread.
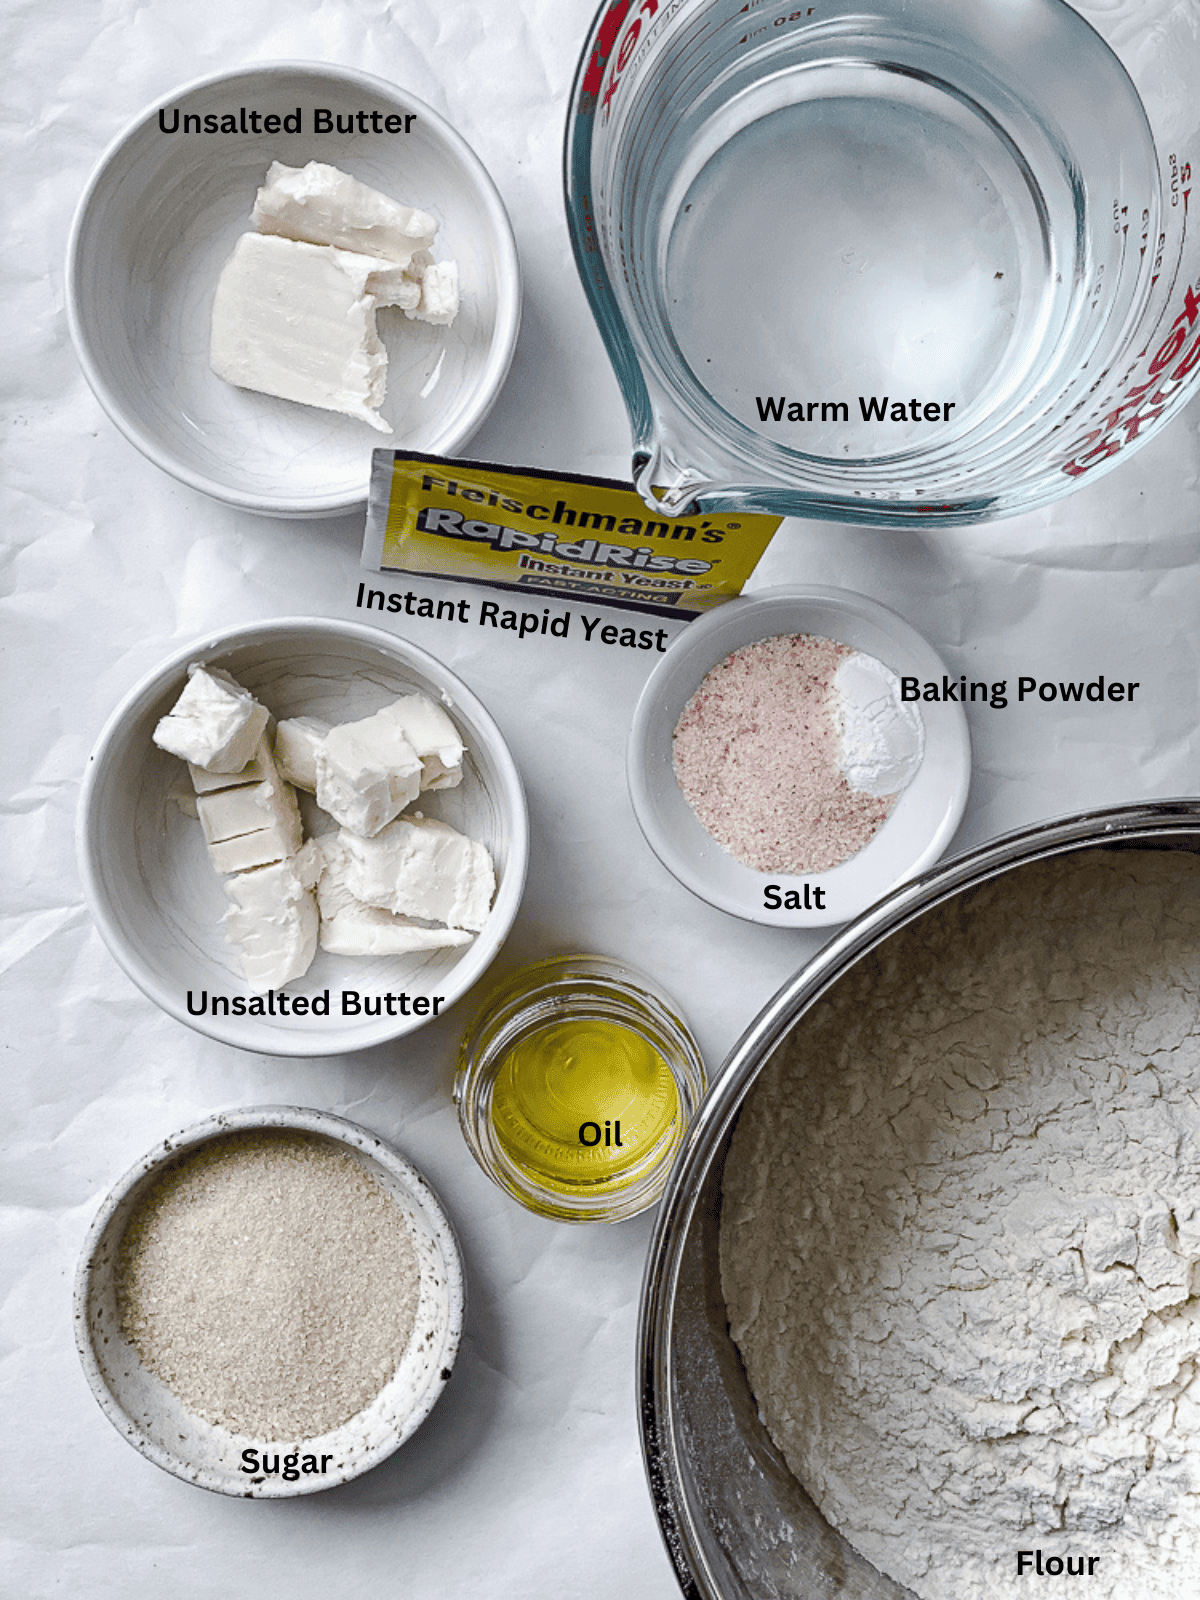
The Ingredients To Make Bread
For a slightly softer loaf, replace a portion of water (about ¼ cup) with plant milk.
How To Flavor Basic White Bread?
Want to make this basic white bread recipe with a bit of a flavor twist? Why not try…
- Garlic and herbs: Add garlic powder or 1-2 minced garlic cloves with fresh or dried herbs. E.g., rosemary, thyme, sage, Italian seasoning, chili flakes, etc.
- Everything bagel seasoning: Add 2-3 tbsp for crunch and flavor.
- Nuts and seeds: Add 1-3 tablespoons of raw or toasted mixed seeds, roasted spicy pumpkin seeds, or chopped nuts (walnuts, pistachios, etc.) to the dough.
To make seed-topped bread, soak the seeds in water first so they don’t burn in the oven. Then, add them to the loaf (lightly brushed with water) in the pan before the second proofing.
- Flaky sea salt: Sprinkle a little over the top of the loaf before baking.
- Cinnamon raisin bread: Add ⅔ cup raisins, 1-2 teaspoons of cinnamon, and 2-3 tbsp sugar (brown sugar or coconut sugar).
- Maple syrup: Add a little maple syrup to the melted vegan butter topping for a touch of sweetness.
How to Make White Sandwich Bread
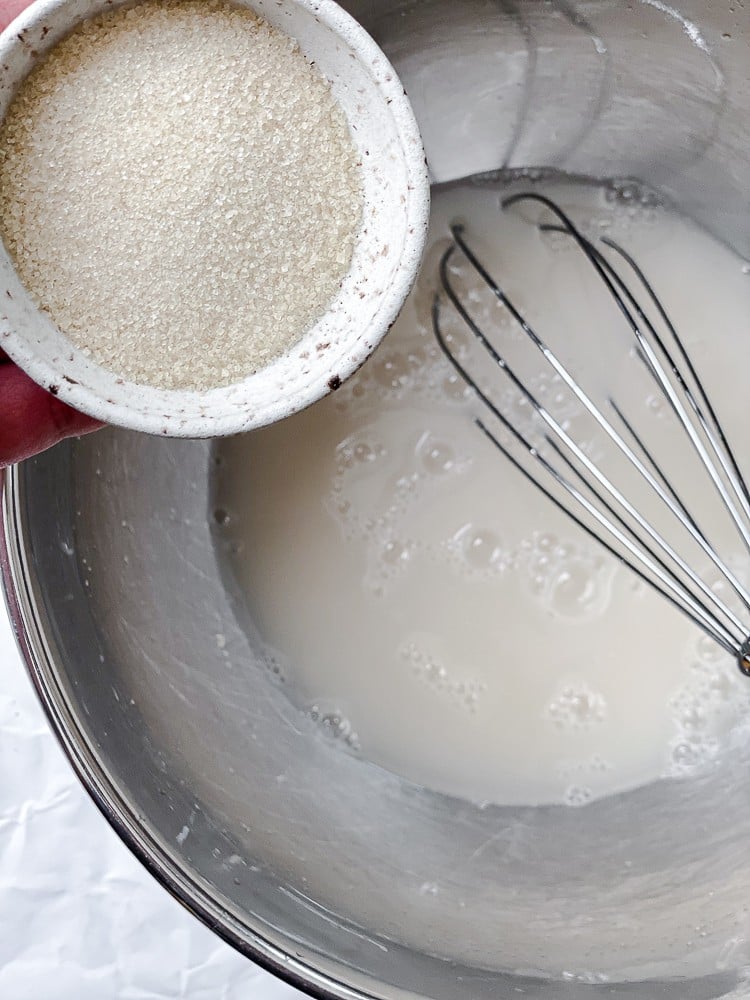
Step 1: First, combine the yeast, warm water (110-115F/43-46C), and sugar in a large bowl. Then, set it aside, covered with a warm damp towel, for 10 minutes to activate and become foamy. Meanwhile, line a loaf pan with parchment paper or lightly oil it and set it aside.
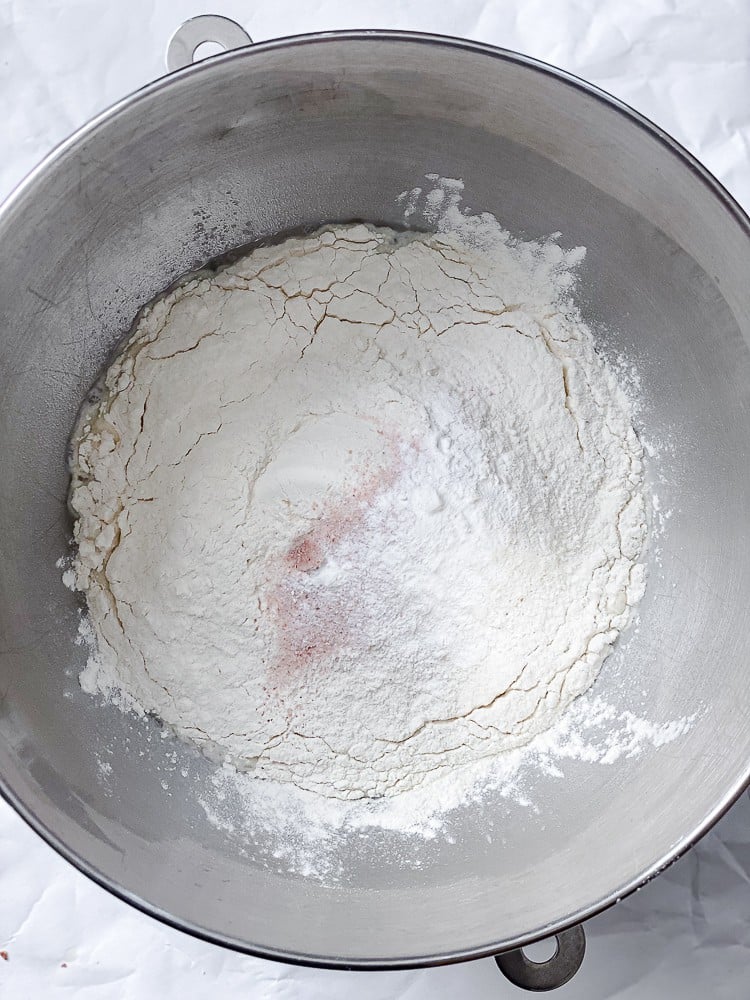
Step 2: Mix well, then add the diced vegan butter, 2 ½ cups of flour, salt, and baking powder. Then, add the remaining flour, ½ cup at a time, kneading it while you do. It will be a sticky, shaggy dough to begin but will become softer and smoother over time. I recommend kneading it for about 10 minutes until soft, smooth, just a little tacky and it slowly bounces back when prodded.
It’s important the water is the correct temperature. Too hot will kill the yeast, and not warm enough won’t activate it properly.
To make this step easier, use a stand mixer with a dough hook attachment (for 5-8 minutes). If it stays overly sticky, add more flour, a teaspoon at a time.
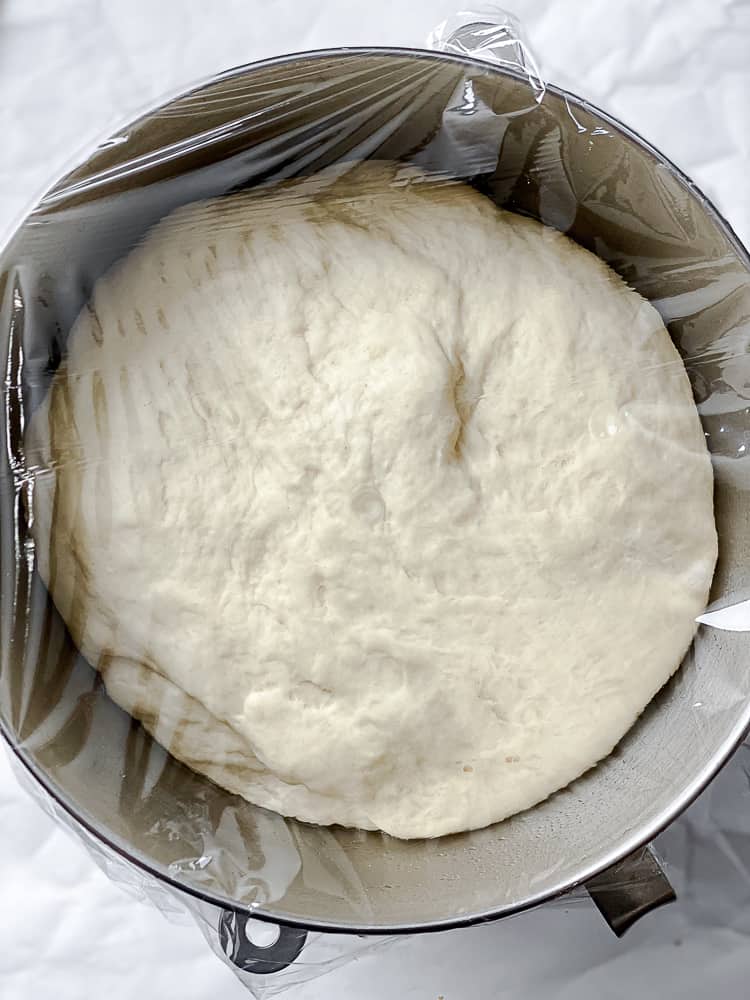

Step 3: Remove the dough from the bowl, rinse and dry it well, then add the oil all around the bowl. Add the dough back to it, and cover with a damp towel or plastic wrap. Leave it to rise in a warm, draft-free area (like in the oven with its light on- around 70F/21C is best) until it doubles in size. This will take 1-2 hours.
Step 4: Knock out the excess air, then carefully transfer the dough from the bowl to your prepared loaf pan. Use your fingers to stretch the dough into all the corners.
Step 5: Cover once more and leave to rise for 30 minutes or until it’s doubled in size. Meanwhile, preheat the oven to 400F/200C. Leave it to rise ½-1 inch above the loaf pan for a tall loaf.
Alternatively, roll the dough out into a rectangle the width of your loaf pan. Then, roll it up, pinch the sides in, and place that in the pan.
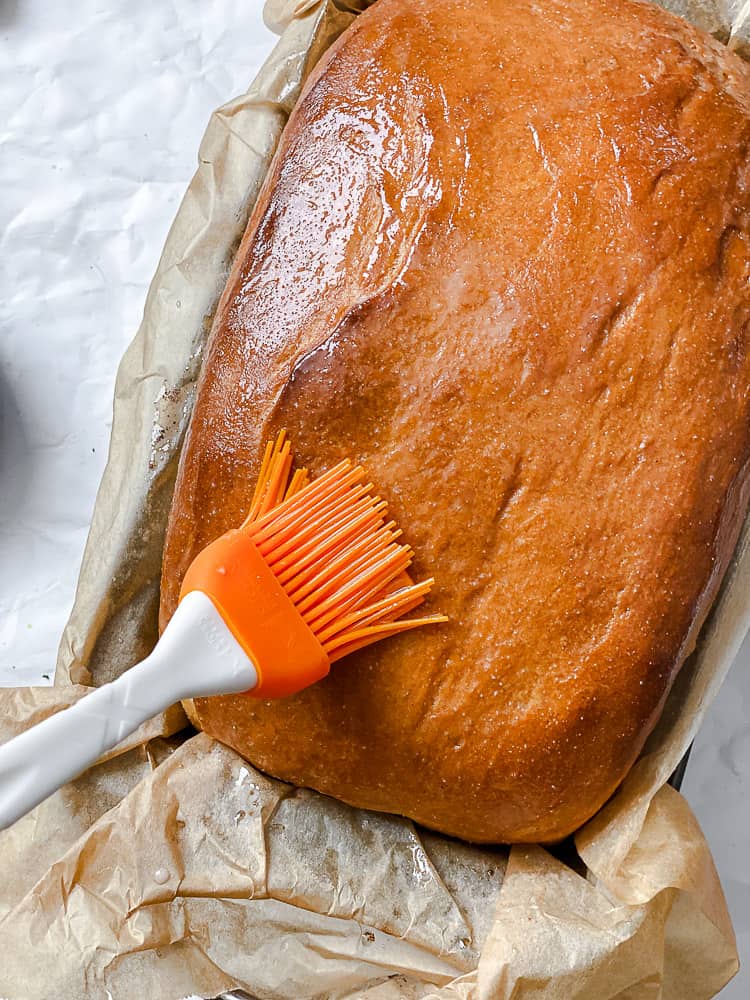
Step 6: Generously brush the loaf with melted vegan butter, then bake it for 30-35 minutes on a lower rack in the oven, until golden brown. Finally, remove the sandwich bread loaf from the oven and brush it with more vegan butter (or oil). Then, leave it in the pan for 20 minutes before removing it and leaving it to cool on a wire rack for an hour. Slice and enjoy!
If it’s browning too quickly, loosely tent the pan with aluminum foil. To test for doneness, insert a thermometer into the center (it should read 195-200C/90-93C) or tap it – it should sound hollow.
Brushing it with butter/oil right out of the oven will soften the hard crust on top for a classic soft sandwich loaf texture.
FAQs
You could either leave the dough to have its first rise in the refrigerator overnight. OR prepare the recipe to step 5, then cover the loaf pan tightly and refrigerate for up to 24 hours. This slows down the rising process. You can then remove it from the fridge 2-3 hours before baking to allow it to double in size.
Yes, but the rise time will be slightly longer.
Absolutely – you’ll just need to adjust the baking time accordingly. The easiest way to do this is to use an instant-read thermometer. The bread is ready when the center reads 195-200F/90-93C.
If under-proofed, the bread can end up overly dense. If over-proofed, not only will it taste more yeasty, but there can be large holes in the loaf, separation from the crust, misshapenness, or even collapse.
Toni’s Recipe Tips
- Ensure the yeast is in date: The bread won’t rise properly if the yeast isn’t fresh. If the yeast is working, it will foam up and become bubbly when activated.
- Measure the flour correctly: It’s important not to add too much, or the bread ends up dense/dry. When measuring in cups, fluff it in its bag with a fork, spoon it into the cup, then level the top with the back of a knife.
- The amount of flour can vary: Based on the climate and humidity, so adjust the liquid ratio if needed so it’s soft and tacky but not overly sticky after kneading.
- Leave it to cool in the pan slightly: But remove it after 20 minutes; otherwise, it can end up with a soggy bottom.
- Don’t over or under-proof: The dough needs to double in size, but not more. To know it’s properly proofed, press into the dough with a finger. An indentation should form and very slowly fill back out. If it bounces back quickly, it’s under-proofed. If the dough collapses, it’s over-proofed and may require re-kneading.
Serving Recommendations
- Sandwiches: like this sweet potato sandwich
- Toasted Sandwiches: Vegan grilled cheese and other toasties
- Toast: with vegan butter, jam, avocado toast (the best vegan avocado toast ideas), etc.
- Soup: use it to enjoy with or dip in soups and stews like this eggplant stew, vegan chickpea stew, roasted parsnip soup, and lemon orzo soup
- French Toast: Make easy vegan French toast
You can also use slightly stale leftovers to make delicious homemade croutons, breadcrumbs, vegan bread pudding, or easy cornbread stuffing.
Storage Recommendations
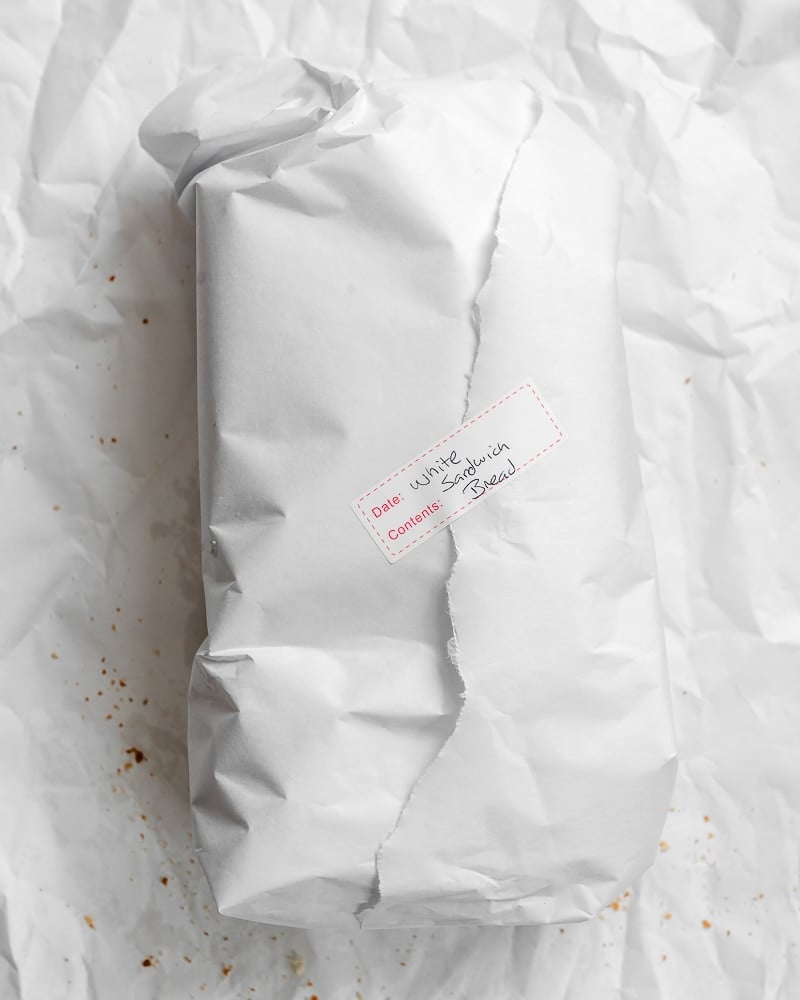
Leave the sandwich loaf to cool, then store any leftovers in a cloth bag or wrapped with wax paper at room temperature for 3-4 days, in the fridge for up to 10 days, or in the freezer for up to 3 months (whole or sliced with parchment paper between the slices to avoid sticking).
To freshen up a hard loaf, sprinkle it lightly with water and bake or microwave until warm and soft.
Other Vegan Bread Recipes to Consider….

Vegan Desserts
Vegan Bread Pudding (Shockingly Easy!)
Vegan Desserts
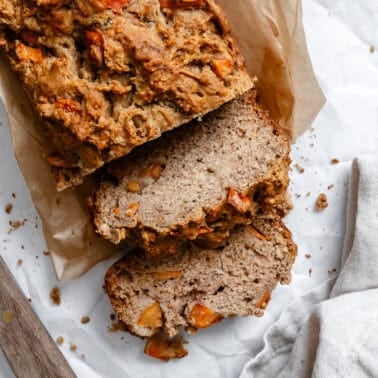
Vegan Persimmon Bread
Vegan Appetizers
Jalapeño Cornbread
Vegan Dinners
The Easiest No Knead Bread
If you tried this basic sandwich bread recipe or any other recipe on my blog, please leave a 🌟 star rating and let me know how it went in the 📝 comments below. Thanks!

If you’re loving my recipes and would like a more comprehensive resource, check out my cookbooks!
Basic Sandwich Bread Recipe
Want to save this recipe?
Ingredients
- 2 ½ teaspoons instant rapid yeast
- ½ cup + 1 ⅓ cups of warm water
- 2 tablespoons of sugar
- 2 tablespoons unsalted vegan butter, diced + more for brushing
- 2 cups + 3 ¼ cups of all-purpose flour, divided
- 2 teaspoons of salt
- ½ teaspoons of baking powder
- 1 tablespoon of neutral oil
Instructions
- In a large bowl, add the warm water, yeast, and sugar. You’ll want the water to be lukewarm for optimal reaction of the yeast, and too hot will kill the yeast. If you have a food thermometer, you’ll want the water to be at 110 degrees.

- Cover with a warm damp towel and allow it to sit for 10 minutes.
- Mix well and add the diced vegan butter, 2 ½ cups of flour, salt, and baking powder. Mix well and add the remaining flour ½ cup at a time. Knead the dough while you add the flour. The flour will be very sticky at the beginning, but then it will be soft and not sticky. Knead the dough for about 10 minutes. (Best if you can use a stand mixer with a dough hook attachment.)
- Remove the dough from the bowl. Wash the bowl and dry it well. Add one tablespoon of neutral oil and spread it all over the bowl. Place the dough in the bowl and cover it with a damp towel or plastic wrap and allow it to sit for 1 hour.
- When the hour has passed, the dough has almost doubled its size.
- Prep the loaf pan by placing parchment paper for the bread to not stick and it would also be easier to lift when ready. Alternatively, you can lightly oil the pan.
- Carefully transfer the dough from the bowl to the loaf pan, and press it using your fingers, to stretch the dough around to fit the pan.
- Cover with a damp towel or plastic wrap and allow it to sit for 30 minutes or until it doubles in size.
- When ready, preheat the oven to 400 degrees F. This will give the dough time to keep rising.
- Generously brush the loaf with melted vegan butter and bake for 30 to 35 minutes. If the vegan butter is dripping, you can place a baking sheet under it to keep the oven clean.
- Remove from the oven and brush with more vegan butter or oil. This will soften the hard top crust of the dough.
- Allow the pan to cool on a cooling rack for 20 minutes. Remove from the pan and allow it to sit on the cooling rack for 1 hour.


Notes
- Ensure the yeast is in date: The bread won’t rise properly if it isn’t fresh. If it works, it will foam up and become bubbly when activated.
- Measure the flour correctly: It’s important not to add too much, or the bread ends up dense/dry. When measuring in cups, fluff it in its bag with a fork, spoon it into the cup, then level the top with the back of a knife.
- The amount of flour can vary: Based on the climate and humidity, so adjust the liquid ratio if needed so it’s soft and tacky but not overly sticky after kneading.
- Leave it to cool in the pan slightly: But remove it after 20 minutes; otherwise, it can end up with a soggy bottom.


Love how easy and simple this bread is to make!