
As an Amazon Associate I earn from qualifying purchases.
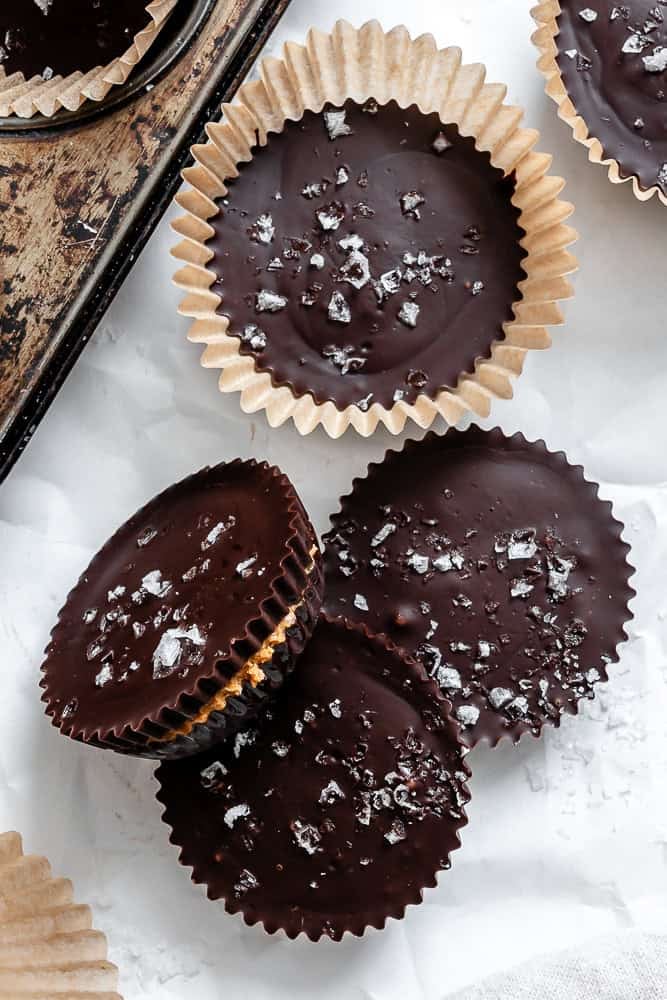
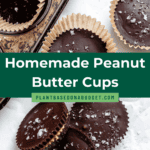
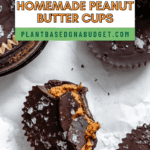
3-ingredient homemade vegan peanut butter cups are easy, fun to make, and every bit as creamy and indulgent as the original candy – perfect for a sweet tooth!
Why You’ll Love This Recipe
Peanut butter and chocolate lovers, rejoice—your favorite candy just got a vegan makeover! Forget store-bought versions that can be hard to find, overpriced, and contain questionable ingredients. This 3-ingredient vegan peanut butter cups recipe is pantry-friendly and super easy to whip up to satisfy sweet cravings, just like this peanut butter and chocolate bark recipe.
Plus, they’re endlessly versatile. Try different nut/seed butter, vegan chocolates, and other flavorful add-ins. They’re gluten-free, dairy-free, high-protein, and sugar adjustable (with NO powdered sugar!). No matter the changes, these DIY peanut butter cups are a great meal-prep treat (as are these chocolate covered trail mix peanut butter balls), perfect as a child-friendly freezer snack, for Valentine’s, Halloween, and more.
You might also enjoy 3-ingredient chocolate coconut balls, chocolate peanut butter protein popsicles, or edible peanut butter cookie dough.
The Ingredients
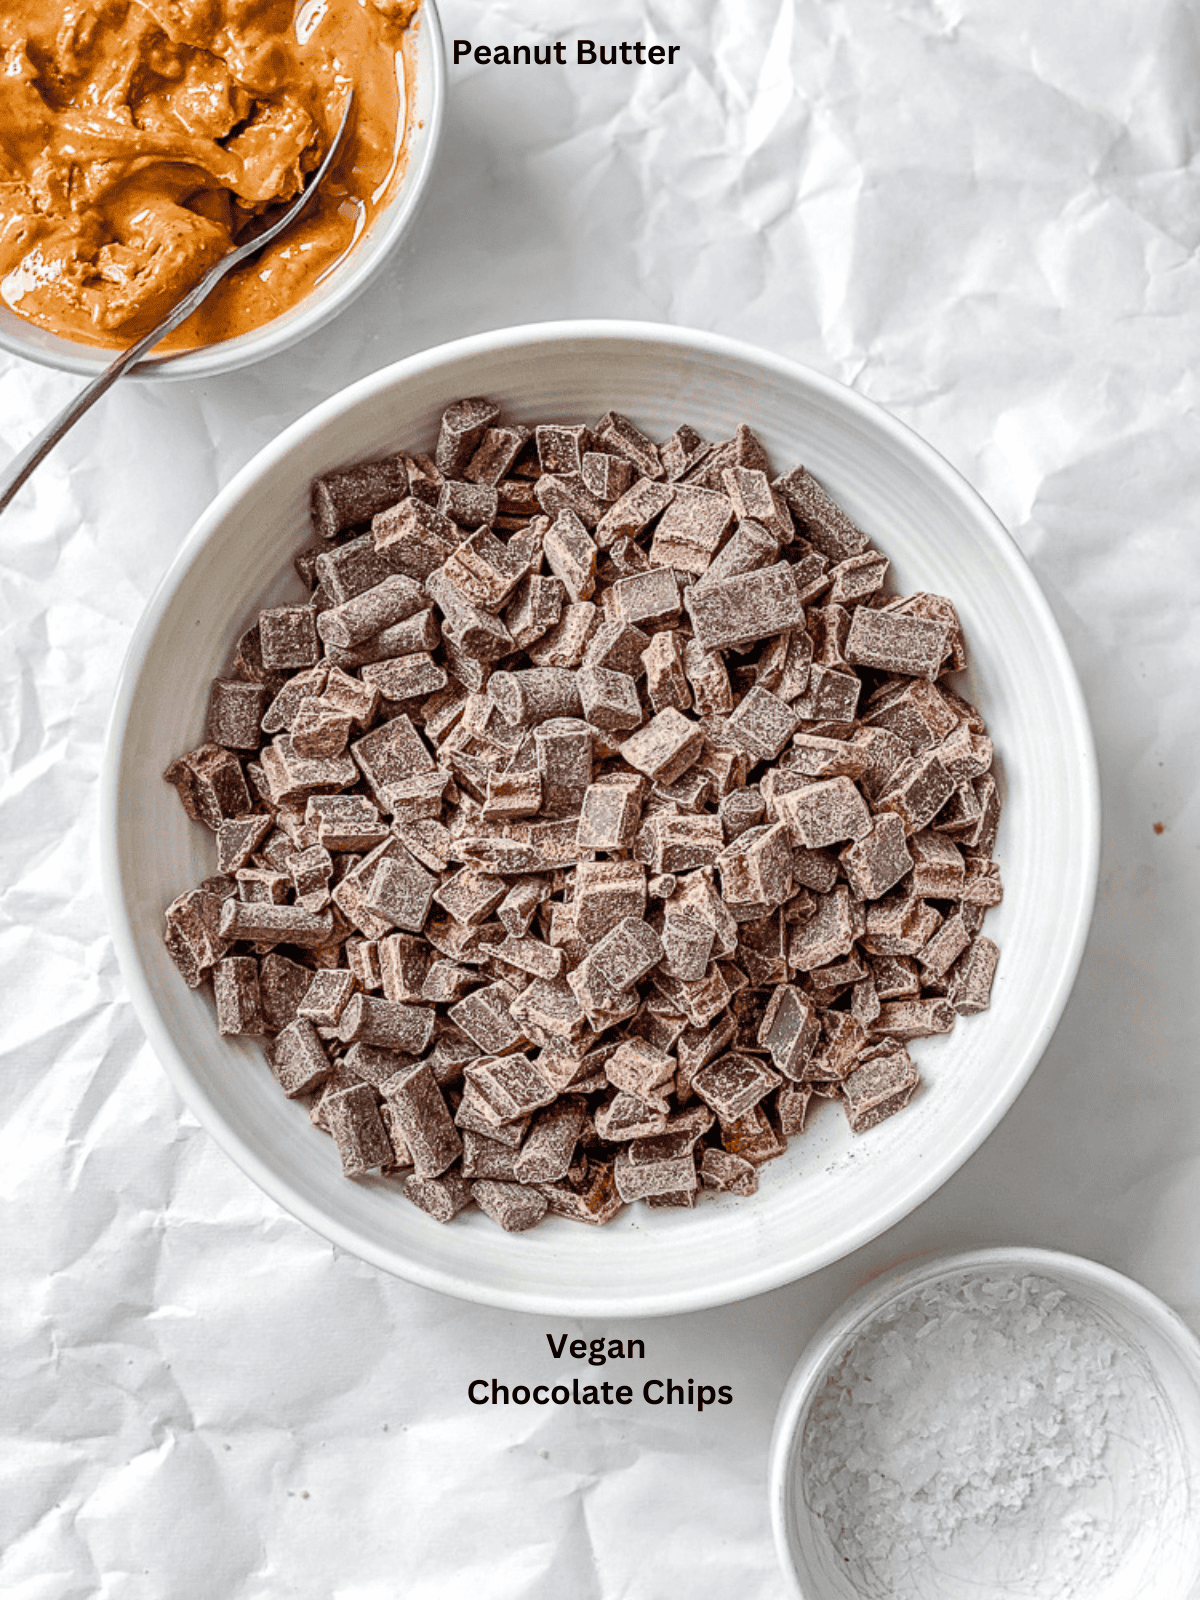
You’ll also need silicone or parchment paper muffin cups.
Recipe Variations
- Sweetener: Sweeten the filling with maple syrup, agave, powdered sugar, etc.
- Jam/jelly: Add grape, raspberry, or strawberry jelly under the PB for a PB&J twist.
- Fruit: Like raspberries or blueberries.
- Vanilla: Mixed into the peanut butter for warmth.
- Instant coffee/espresso: Add to the vegan chocolate for a mocha twist. And if you love coffee, you might also like this vegan coffee cake or easy coffee cupcakes.
- Spices: i.e., cinnamon/pumpkin spice OR use a store-bought flavored peanut butter.
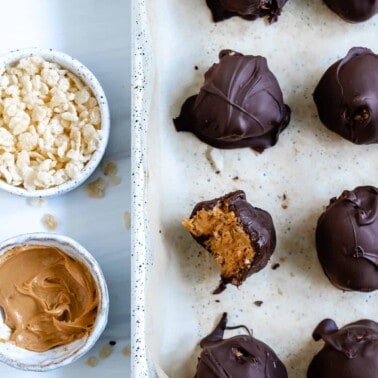
- For crunch: Add crushed pretzels, cookies (like Oreos/graham crackers/Biscoff – chunky or finely crushed), peanuts/seeds, puffed rice, coconut, etc.
- Other nut butter: i.e., almond butter, hazelnut butter, cashew butter, etc.
- Protein peanut butter cups: Add plain/vanilla protein powder to the filling. If it gets too thick, add maple syrup/plant-based milk.
How to Make Vegan Peanut Butter Cups

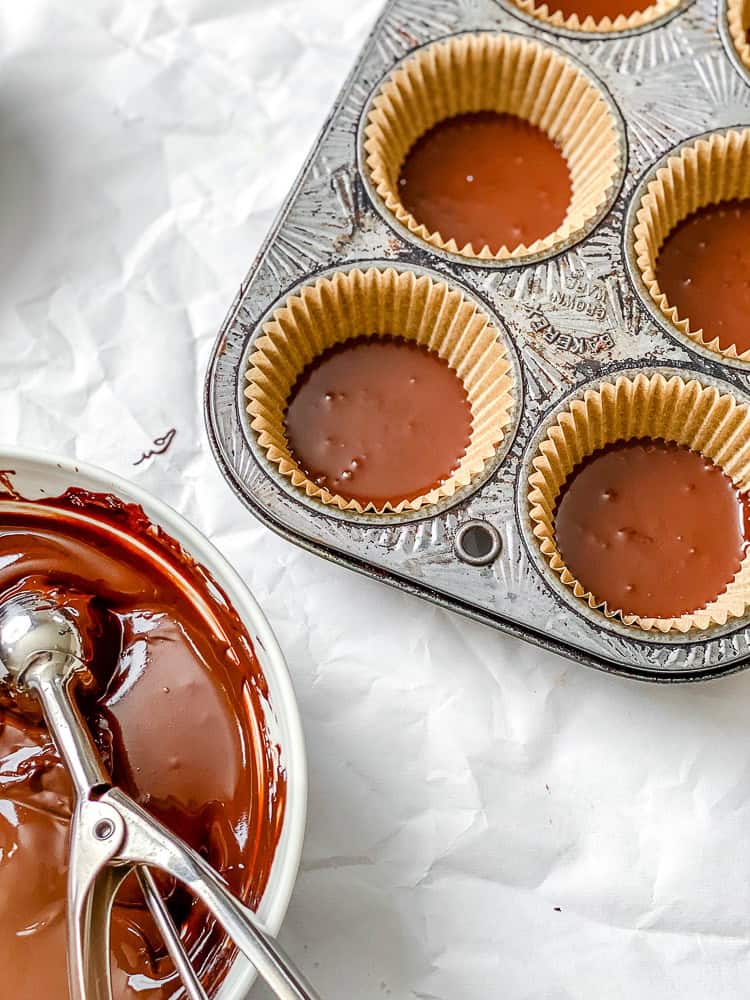
Step 1: First, line a muffin tin with 12 parchment/silicone muffin liners and freeze. Then, melt 8oz of the vegan chocolate in the microwave (30-35 second increments, stirring between) or a double boiler. Avoid overheating to prevent burning.
Step 2: Add a tablespoon of melted vegan chocolate to each liner, tap the tray on the table to ‘level’ them, and freeze for 5 minutes.
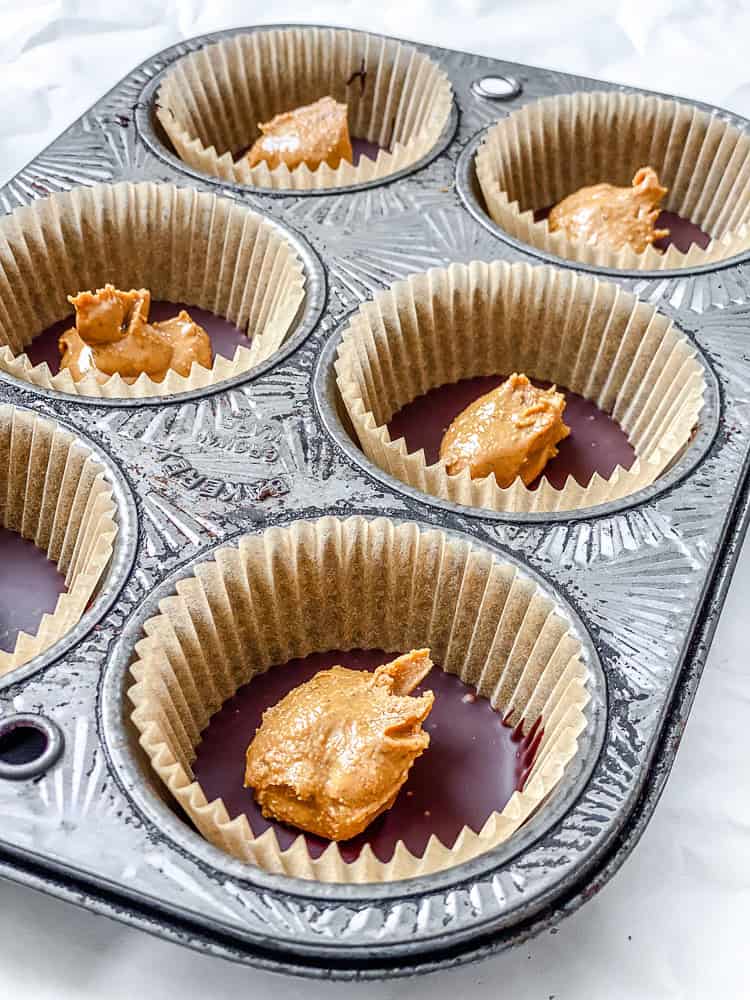
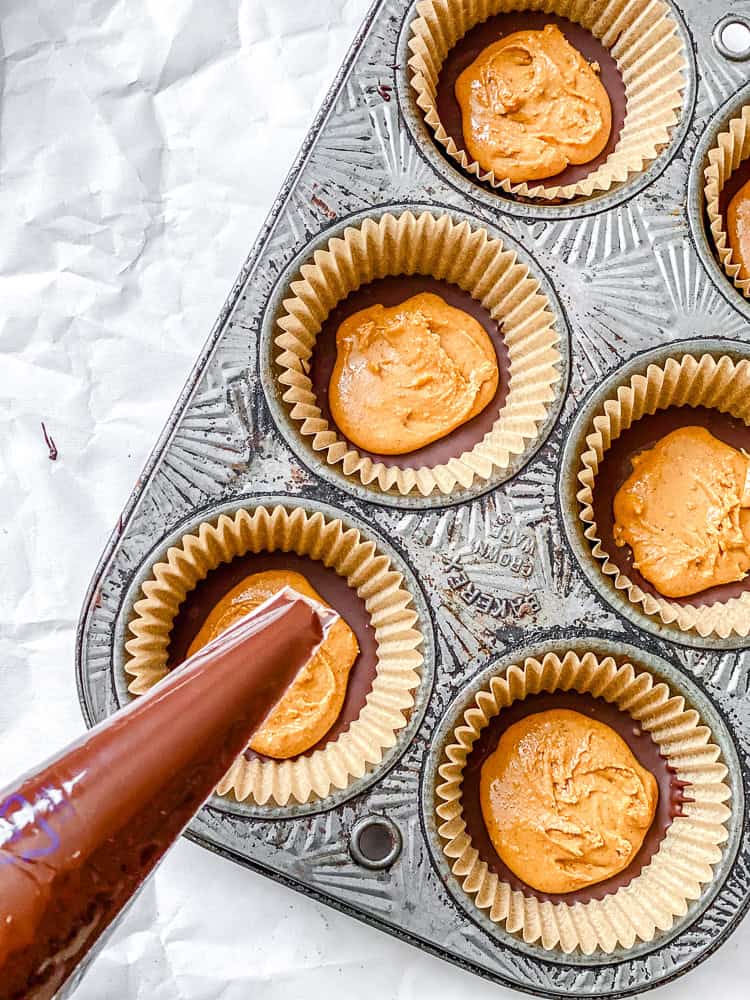
Step 3: Spoon/pipe a teaspoon of peanut butter to each cup, flattening it to an even layer, leaving the edges bare (so it can be encapsulated by the vegan chocolate).
Step 4: Melt the remaining vegan chocolate – this time only until it’s MOSTLY melted with a few chunks, allowing the residual heat to finish the process. Then, transfer it to a piping bag or Ziplock. Pipe vegan chocolate around the edges of each peanut butter cup before covering the top of each, encapsulating the peanut butter.
If using runny peanut butter, it will cover the entire surface – that’s fine, too.
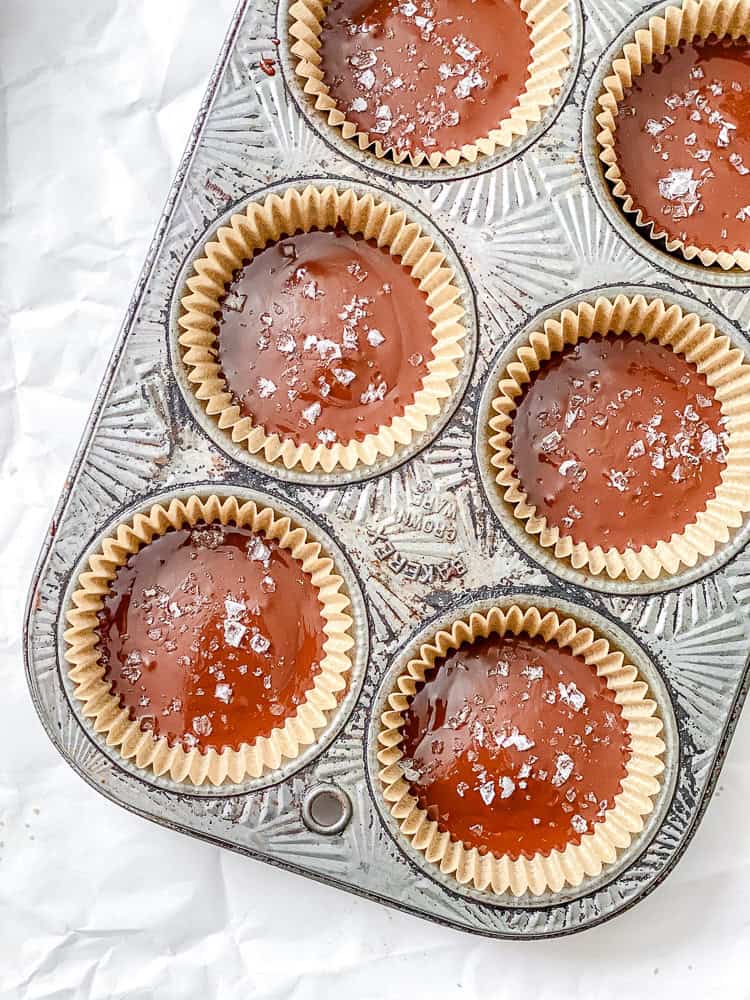
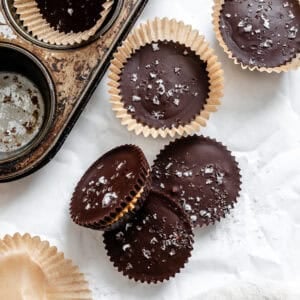
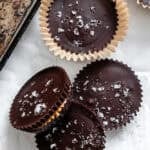
Step 5: Tap the tray on the counter to level then sprinkle with flaky salt and freeze for an hour, or until set. Enjoy!
If the vegan chocolate hardens unevenly, broil the top briefly before chilling. Refer to this guide on how to melt chocolate for more tips.
FAQs
Sure, you could use sunflower seed butter or granola butter instead of peanut butter.
Yes, though runny versions work best for ‘layered’ vegan peanut butter chocolate cups, instead of encapsulated ones.
To optionally thicken the filling, add powdered sugar/erythritol, finely crushed vegan graham crackers/Biscoff, peanut butter powder, almond flour, or vegan protein powder.
Absolutely! Just use mini cupcake liners/petit four cases.
For the healthiest version, try making homemade vegan dark chocolate peanut butter cups with rich dark chocolate (70-75%+) and natural peanut butter (no added oils/sugar).
Pro Recipe Tips
- Use high-quality vegan chocolate: Use rich, semi-sweet/dark chocolate you like the flavor of.
- For the best flavor: If the PB is unsalted, add a pinch to balance and enhance the flavor.
- Work quickly: Without coconut oil, the melted vegan chocolate firms up quickly – so assemble the homemade peanut butter cups quickly.
- Chill between layers: Skipping this step causes the PB to sink. Chilling between helps make cleaner, even layers.
Storage Instructions
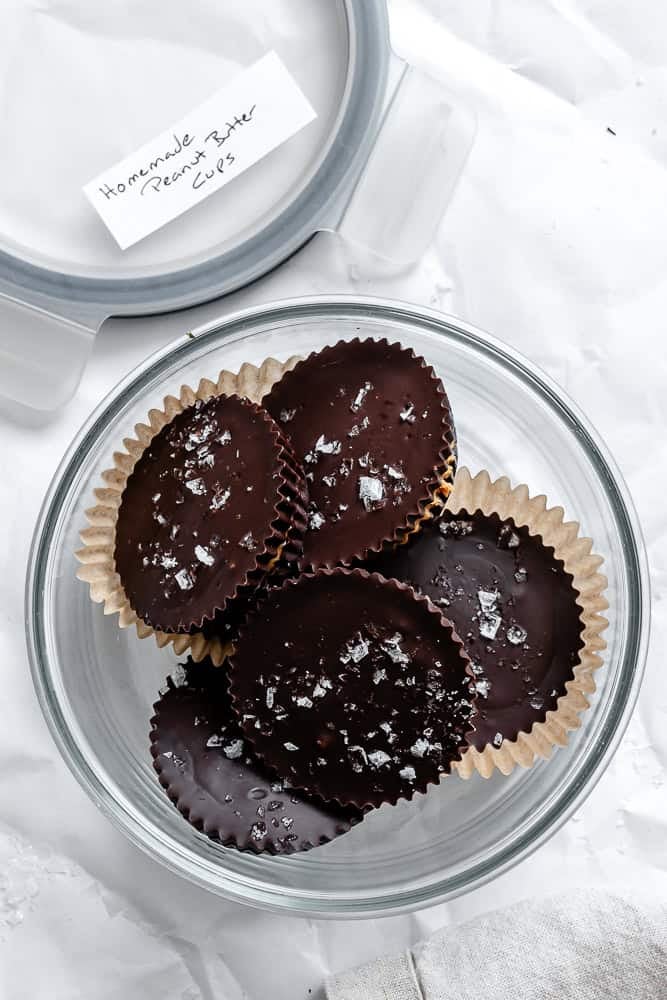
Fridge: In an airtight container for up to 1 month.
Freezer: Store the vegan peanut butter cups in an airtight container for up to 4 months. Thaw for 10-15 minutes before enjoying.
Other Peanut Butter Recipes to Consider….
![Completed Peanut Butter Chia Pudding [With Berry Compote] in a jar.](https://plantbasedonabudget.com/wp-content/uploads/2025/04/PBJ-Chia-Parfait-PBOAB-12-e1744863363394-378x378.jpg)
Vegan Desserts
Peanut Butter Chia Pudding [With Berry Compote]

Vegan Breakfasts
Peanut Butter Granola Bars
Vegan Desserts
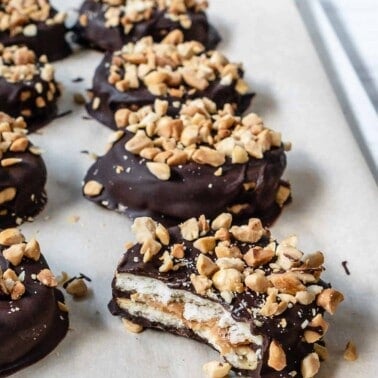
Peanut Butter Cracker Sandwiches
If you tried this vegan peanut butter cups recipe or any other recipe on my blog, please leave a 🌟 star rating and let me know how it went in the 📝 comments below. Thanks!
Vegan Peanut Butter Cups
Ingredients
- 16 ounces of vegan semi-sweet chocolate chips
- 1 cup of creamy peanut butter
- ½ teaspoon of flaky or regular salt if using unsalted peanut butter, plus more for garnish
Instructions
- Line a muffin tin with 12 parchment paper or silicone liners. Set aside in the freezer.
- Add 8 ounces of vegan chocolate chips to a microwave-safe bowl. Place it in the microwave and turn it on for 35 seconds. Remove the bowl from the microwave and stir. Place the bowl back in the microwave and turn it on for 35 seconds. Repeat the process until the vegan chocolate is completely melted. Do not overheat the vegan chocolate or it could burn and dry out.
- Remove the prepared muffin tin from the freezer and add 1 tablespoon of melted vegan chocolate to each liner. Give it a few gentle taps so the dairy-free chocolate self-levels itself. Set the used bowl aside for later use.
- Place the tray in the freezer for 5 minutes.
- Have the peanut butter ready on your work area along with a 1-teaspoon measuring spoon and a rounded-tip knife.
- Have a pipping bag ready with the smallest tip you have or cut a small opening in the tip of the bag. Set aside ready to be filled.
- Grab the second 8-ounce bag of vegan chocolate chips and place them in the bowl you previously used to melt the dairy-free chocolate. Place the bowl in the microwave and microwave for 35 seconds. Remove the bowl from the microwave and mix the vegan chocolate chips. Repeat the process until you see most of the vegan chocolate is melted and warm, but you still see many vegan chocolate chips not melted. Mix it very well until they melt with the warmth of the melted vegan chocolate. Do not over-melt the dairy-free chocolate. This batch needs to be slightly less runny than the first one.
- Place the bowl with the melted vegan chocolate on your work area and leave it in the bowl.
- Take the muffin tray out of the freezer and check if the vegan chocolate is solid.
- Add 1 teaspoon of peanut butter right in the center of each cup. Use the knife to help you remove the peanut butter from the teaspoon.
- Use the teaspoon and knife, to flatten the peanut butter as much as possible, but make sure it does not get too close to the edge. Repeat the process until every cup has the peanut butter flattened. If your peanut butter is naturally runny, there is no need to flatten the peanut butter.
- Give the melted vegan chocolate a good mix, and transfer it onto the pipping bag.
- Using the piping bag, in a circular motion, add vegan chocolate around the peanut butter, and make sure it is the same height as the peanut butter. Repeat the process with all of the cups. Do not cover the top yet.
- Once all of the cups have vegan chocolate around the peanut butter, pipe more vegan chocolate on top to cover and encapsulate the peanut butter.
- Place the tray over a kitchen towel and give the tray a few gentle taps for the vegan chocolate to self-level. If the vegan chocolate has hardened and is not self-leveling, place the tray in the conventional oven for 5 to 10 seconds on broil.
- Sprinkle some flaky salt and place the tray in the freezer for at least 1 hour.
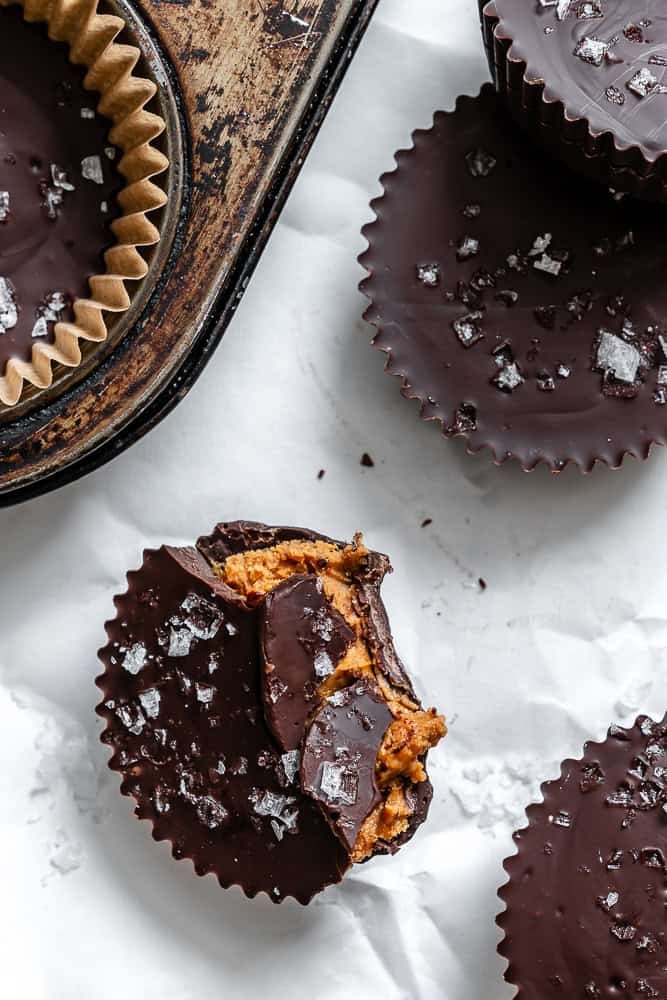
- Remove from the freezer and enjoy cold!
- Store them in the freezer for later use.
Notes
- Use high-quality vegan chocolate: Use rich, semi-sweet/dark chocolate you like the flavor of.
- For the best flavor: If the PB is unsalted, add a pinch to balance and enhance the flavor.
- Work quickly: Without coconut oil, the melted vegan chocolate firms up quickly – so assemble the homemade peanut butter cups quickly.
- Chill between layers: Skipping this step causes the PB to sink. Chilling between helps make cleaner, even layers.

![completed EASY Chocolate Depression Cake [Wacky Cake] sliced against a white surface](https://plantbasedonabudget.com/wp-content/uploads/2023/01/36-Crazy-Cake-Plant-Based-on-a-Budget-1-2-378x378.jpg)


The best PB and chocolate cup!
Thank you for including the nutritional values. It is hard to find plant-based recipes online with that information. These are delicious!
Of course! Hope you enjoy! 🙂
These contain some of my favourite ingredients and I love that they are so quick to make.
Such a great combination of classic flavors for a sweet treat!