As an Amazon Associate I earn from qualifying purchases.
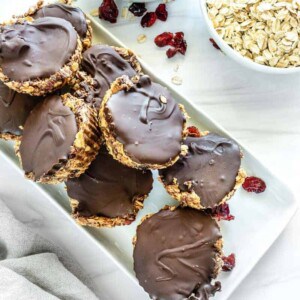
These vegan peanut butter cups are a perfect grab n’ go breakfast, snack, or dessert. They combine creamy peanut butter with old-fashioned oats, dried fruit, and your favorite dairy-free chocolate. The result is a super-tasty, refined sugar-free, dairy-free, vegan, gluten-free breakfast treat, snack, or dessert!
No-Bake Peanut Butter Cups
Here at Plant-Based on A Budget, you can never have too many grab n’ go snacks – especially when chocolate and peanut butter are involved. We’ve already shared recipes for chocolate peanut butter balls, chocolate bark, pretzel bars, peanut butter bonbons, and – of course- these no-bake peanut butter cups.
These peanut butter oatmeal cups are a delicious cross between baked peanut butter oatmeal cups, peanut butter granola, and chocolate peanut butter cups. Meaning they’re healthy enough for a healthy breakfast or snack but decadent enough to satisfy sugar cravings. In fact, the combination of hearty oats, protein-dense peanut butter, just-sweet-enough dried fruit, and a rich chocolate topping make for a chewy, sweet, delicious treat (like these GF peanut butter granola bars but with chocolate).
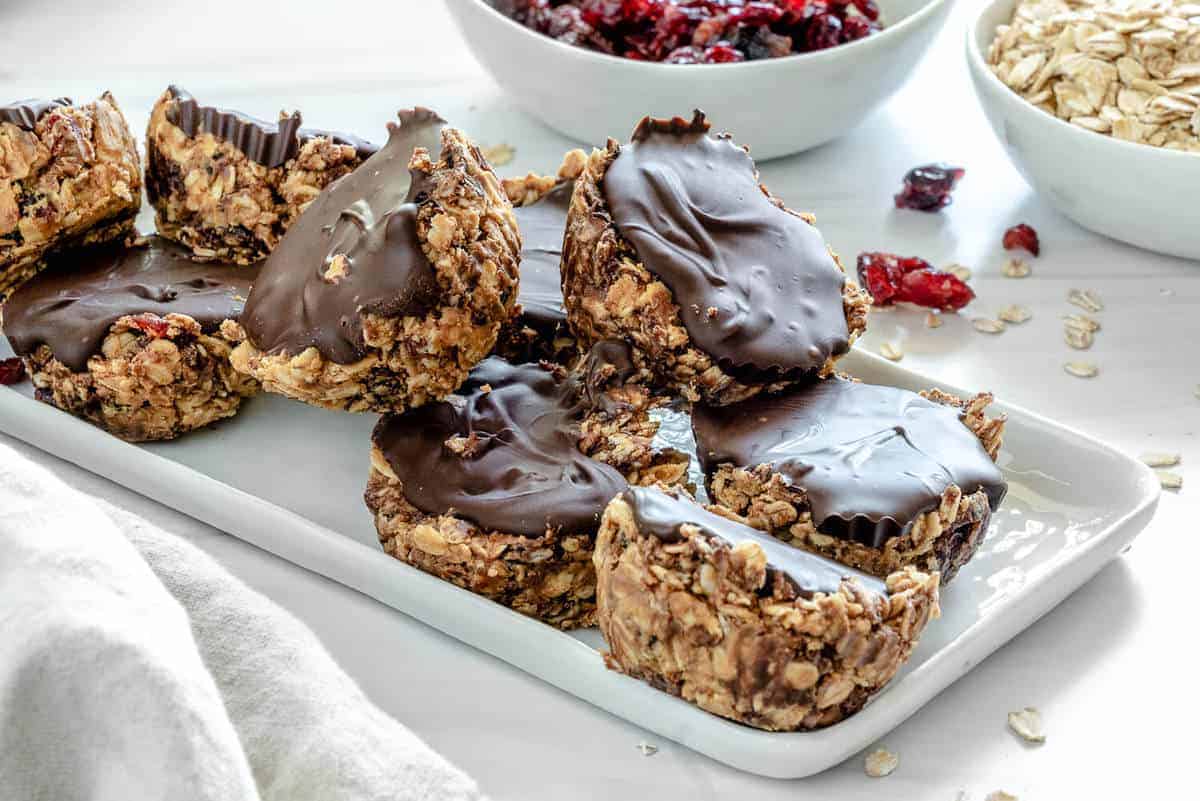
Plus, the 6 ingredients needed for these no-bake granola cups contain a wholesome combination of healthy fats, proteins, carbs, and several vitamins and minerals! Enough to nourish and keep you full until your next meal. Made even easier to keep track of nutrition too, since they come pre-portioned!
Since they’re baked into a muffin tin, these oatmeal cups also make for a great portable snack and are perfect for lunch boxes, as a travel snack, or just for those busy mornings when you don’t have time to stand around preparing breakfast.
Best of all, these no-bake peanut butter cups require just minutes of hands-on prep, contain wholesome ingredients, and are wonderfully meal-prep friendly. Store them in the fridge for up to a week or in the freezer for up to four months for a healthy snack whenever the cravings hit!
Craving more peanut butter treats? You might also like this chocolate peanut butter banana breakfast shake, no-bake peanut butter balls, peanut butter sandwich cookies, or this wholesome PB&J Chia parfait!
The Ingredients and Substitutes
These no-bake chocolate peanut butter granola cups require just 6 simple ingredients, most of which are pantry staples:
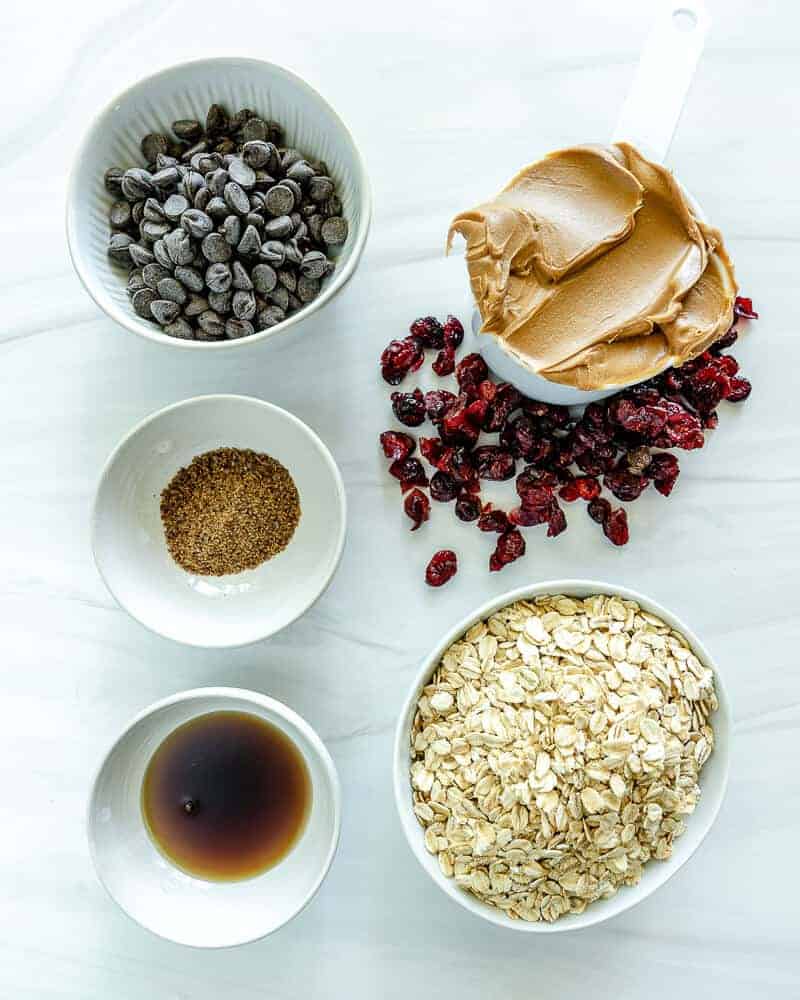
- Oats: it’s best to use rolled oats (old-fashioned oats). Use certified gluten-free oats if needed. You could also use vegan granola, and it should still work – but it may work better when combining the ingredients in a food processor to slightly break down the granola.
- Peanut butter: Use any smooth creamy natural peanut butter. Alternatively, you could even use almond butter or cashew butter.
- Dried fruit: Cranberries, cherries, or raisins work particularly well in these oatmeal cups, though any soft dried fruit will work well as an extra binder and for natural sweetness. If you’re using larger dried fruit (like dates or apricots), chop them into smaller pieces.
- Maple syrup: Or another liquid sweetener like agave, brown rice syrup, date syrup, or dandelion honey.
- Flax seeds: You can use ground flaxseed or chia seeds. If you can’t find either, then wheatgerm would also work (and isn’t as yuck as it sounds, promise!)
- Chocolate: Use your favorite dairy-free chocolate chips (or bar); milk or dark will work. We love Guittard semi-sweet chips.
Optional Add-ins and Variations:
- Vanilla: Just a little vanilla helps to make these chocolate peanut butter granola cups into even more of a dessert treat.
- PBJ cups: To make PBJ-inspired no-bake oatmeal cups, when you press the oatmeal mixture into the muffin tin, use your thumb to make an indent in each cup and fill with a teaspoon or so of your favorite jam/jelly (raspberry, grape, strawberry, etc.). Then pour the melted chocolate over that and set.
- Seeds: You can grind some seeds like pumpkin/sunflower seeds to mix into the oatmeal mixture for extra nutrients.
- Breakfast granola cups: Press the peanut butter oatmeal mixture into a regular muffin tin, building it up the sides, so it’s a thin ‘bowl’/cup,’ then add a thin layer of the chocolate to the top. The ‘cup’ could then be filled with your favorite dairy-free yogurt and fruit’ blueberries, banana, etc. For more of a complete breakfast. Dip your fingers in water when shaping them if they’re very sticky.
- Nut-free granola cups: You could try sunflower seed butter.
How to Make Chocolate Peanut Butter Granola Cups?
Keep scrolling to the recipe card for the complete list of ingredients and recipe instructions!
- First, combine the oats, dried fruit, peanut butter, maple syrup, and ground flax in a bowl and mix well.
- Then, melt the chocolate and mix half of it into the bowl.
- Divide the dough into 12 portions, roll into balls, and push each into a lightly greased mini-muffin tin until flattened.
Alternatively, you can use a regular muffin tin. They’ll just be a little thinner.
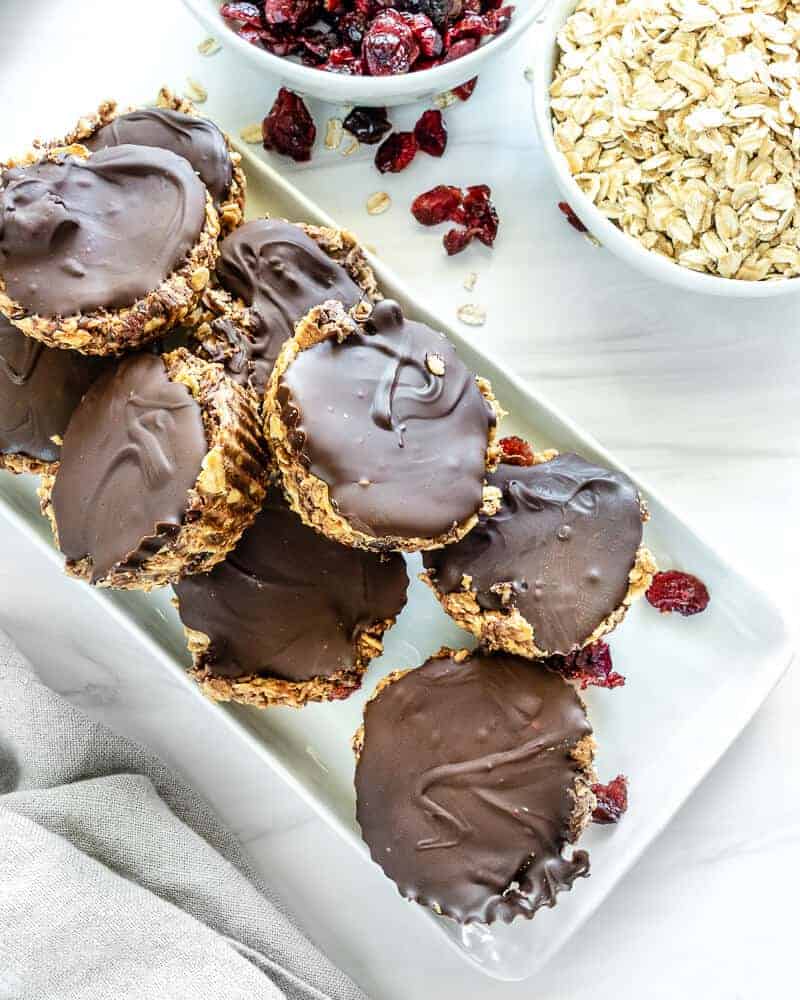
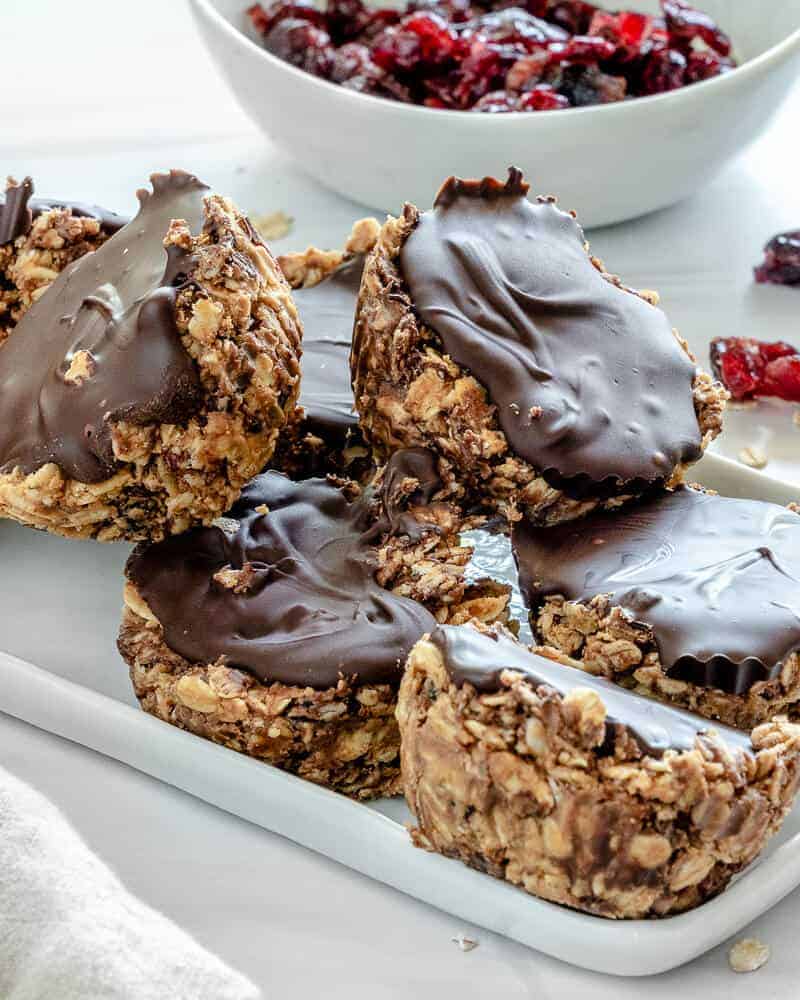
- Pour the remaining melted chocolate over the no-bake peanut butter cups. Then transfer the tray to the fridge for around an hour to set before enjoying!
How to Make-Ahead and Store?
Store the no-bake chocolate peanut butter granola cups in an airtight container in the fridge for up to a week. Alternatively, freeze them on a tray until solid. Then transfer to a freezer-safe container/bag for up to 4 months.
Thaw in the fridge before enjoying and then enjoy chilled, at room temperature or warmed up in the microwave. You can also heat the oatmeal cups from frozen in the microwave and enjoy slightly warm.
Top Recipe Tips and FAQs
- Adjust the sweetness: Feel free to adjust the amount of liquid sweetener you add to your personal taste. Start by adding only half the amount mentioned, giving it a taste, and adjusting as needed.
- To include a creamy peanut butter filling: Mold the filling to the muffin tin, so it’s a ‘bowl’ shape. Then add 1-2tsp peanut butter before pouring over the melted chocolate.
- If the chocolate starts to set: It may begin to harden before you’re done using it. Simply place it back in the microwave in 10-15 second spurts until it’s melted again.
- If the peanut butter is a little thick: Place it in the microwave for 20-30 seconds until it’s runnier.
- When adding fillings: If you decide to add a filling (like extra peanut butter or jam/jelly), I recommend placing the no-bake peanut butter cups in the freezer for 20-30 minutes before pouring over the chocolate. It’s not necessary but makes for cleaner layers and faster setting.
- If you use store-bought granola: Avoid granola with clusters or ones that have too many add-ins (some dried fruit and seeds are fine, but if it’s too chunky, they won’t ‘stick’ together).
More Vegan Oaty Recipes
- Nutty homemade granola
- Simple yogurt parfait
- PB&J Smoothie
- Vegan walnut oat scones
- Peanut butter oat breakfast cups
- Pumpkin oat cookies
- Strawberry oat bars
- Vegan apricot crisp or plum crisp
Photos by Alfonso Revilla
Vegan Peanut Butter Cups
Ingredients
- 1 ½ cups of oats
- ½ cup of dried cranberries or raisins
- 1 cup of peanut butter
- 2 Tablespoons of maple syrup (agave works too)
- 1 Tablespoon of ground flax seeds
- ½ cup of vegan chocolate chips
Instructions
- In a large bowl, mix together the oats, dried fruit, peanut butter, maple syrup, and ground flax seeds.
- Melt the chocolate chips and mix half of it into the bowl.
- Roll the dough into little balls, and push into a lined or lightly-oiled mini-muffin tin. You can use a regular sized tin as well, they just will be bigger.
- Coat the top of the cups with the remaining melted chocolate and refrigerate for about an hour. Serve cold.
Notes
- Vanilla: Just a little vanilla helps to make these chocolate peanut butter granola cups into even more of a dessert treat.
- PBJ cups: To make PBJ-inspired no-bake oatmeal cups, when you press the oatmeal mixture into the muffin tin, use your thumb to make an indent in each cup and fill with a teaspoon or so of your favorite jam/jelly (raspberry, grape, strawberry, etc.). Then pour the melted chocolate over that and set.
- Seeds: You can grind some seeds like pumpkin/sunflower seeds to mix into the oatmeal mixture for extra nutrients.
- Breakfast granola cups: Press the peanut butter oatmeal mixture into a regular muffin tin, building it up the sides, so it’s a thin ‘bowl’/cup,’ then add a thin layer of the chocolate to the top. The ‘cup’ could then be filled with your favorite dairy-free yogurt and fruit’ blueberries, banana, etc. For more of a complete breakfast. Dip your fingers in water when shaping them if they’re very sticky.
- Nut-free granola cups: You could try sunflower seed butter.
Nutrition
Disclaimer: Although plantbasedonabudget.com attempts to provide accurate nutritional information, kindly note that these are only estimates. Nutritional information may be affected based on the product type, the brand that was purchased, and in other unforeseeable ways. Plantbasedonabudget.com will not be held liable for any loss or damage resulting for your reliance on nutritional information. If you need to follow a specific caloric regimen, please consult your doctor first.

![completed EASY Chocolate Depression Cake [Wacky Cake] sliced against a white surface](https://plantbasedonabudget.com/wp-content/uploads/2023/01/36-Crazy-Cake-Plant-Based-on-a-Budget-1-2-378x378.jpg)


Thank you for including the nutritional values. It is hard to find plant-based recipes online with that information. These are delicious!
Of course! Hope you enjoy! 🙂
These contain some of my favourite ingredients and I love that they are so quick to make.
Such a great combination of classic flavors for a sweet treat!